# Accessing Industrial Systems Remotely
# PLC Access Setup Guide
This use case explains how a PLC connected to an **AG-702 gateway** can be securely accessed from a remote location using **ATRA RMS** and the **ATRA VPN Client** , without exposing the PLC or local network to the public internet.
### 1. Network Setup (AG-702 and PLC)
##### 1.1 Configure Static IP on AG-702 Gateway
**Purpose:** Configure the AG-702 with a static LAN IP that belongs to the same subnet as the PLC.
**Steps to Configure Static IP:**
1. Connect AG-702 ETH2 (LAN) to your laptop/PC using an Ethernet cable.
2. Open Terminal / Command Prompt on the laptop.
3. Verify connectivity with the gateway: `ping 192.168.1.1`. Ensure that a reply is received.
4. Open a web browser and navigate to: `http://192.168.1.1`
[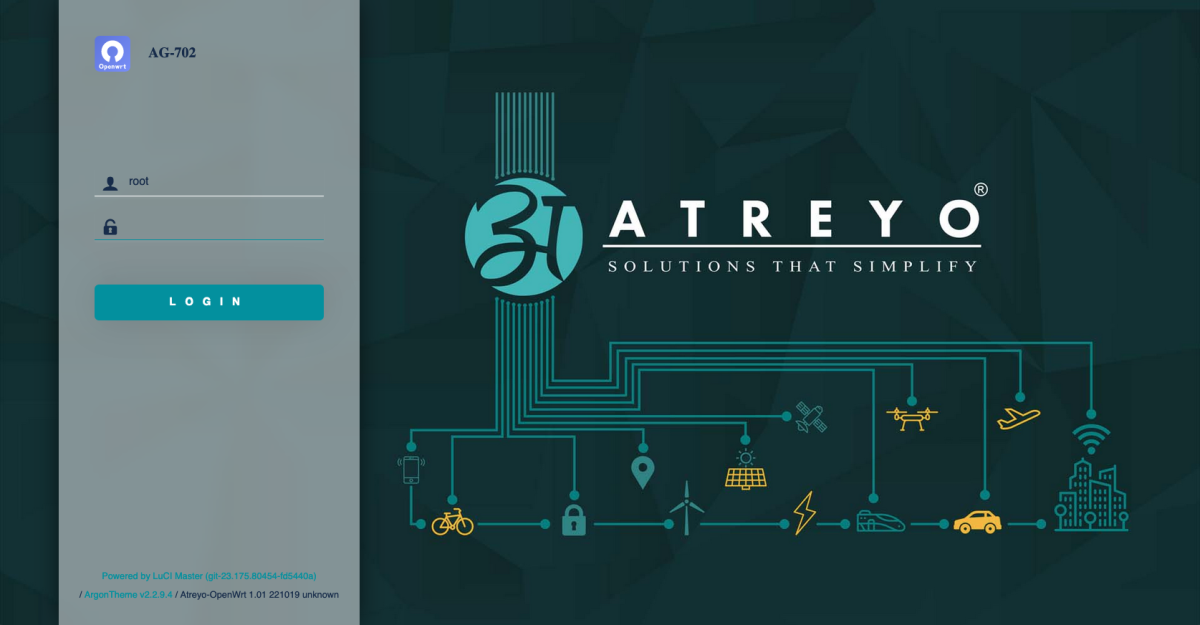](https://docs.atreyo.in/uploads/images/gallery/2026-04/vgeimage.png)
5. Log in with the following credentials:
- Username: `root`
- Password: `root`
6. Navigate to: Network → Interfaces
[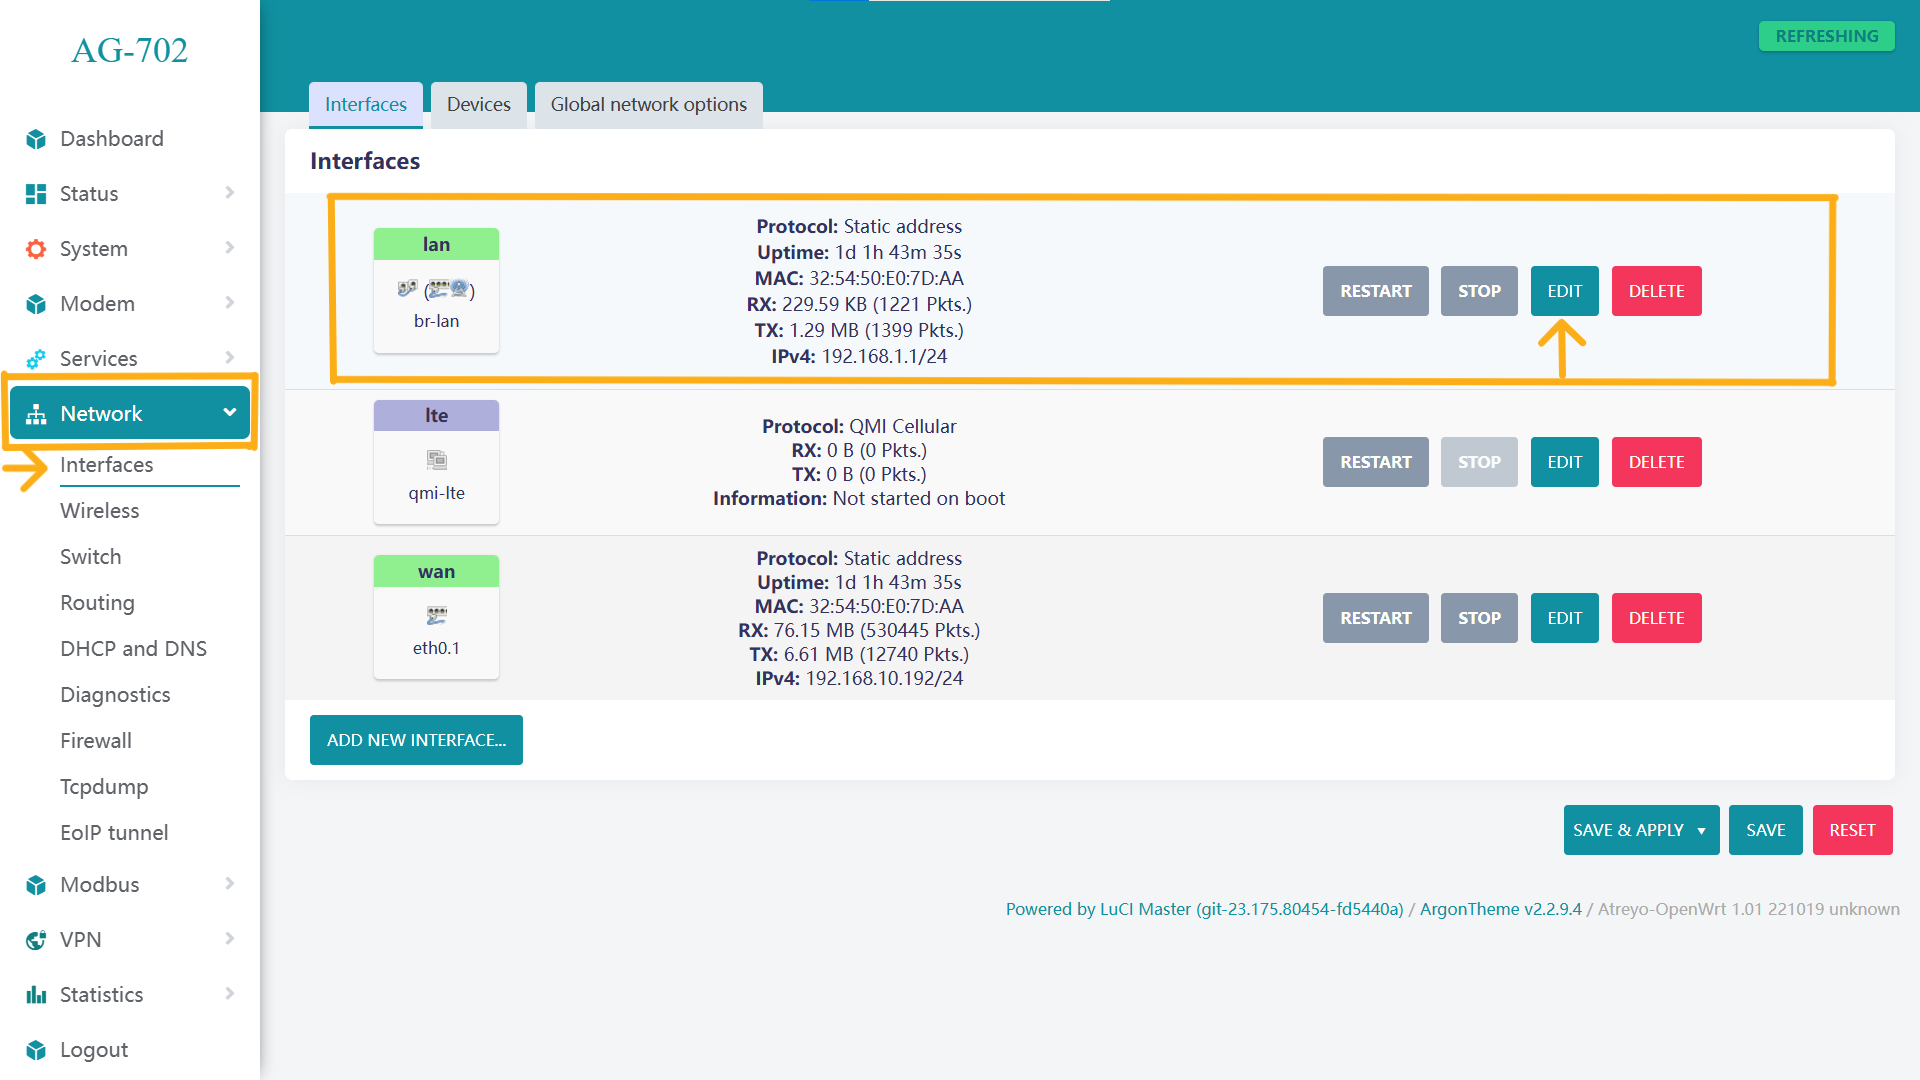](https://docs.atreyo.in/uploads/images/gallery/2026-04/YIWimage.png)
1. Click Edit on the br-lan interface.
2. Change the IPv4 address to match the PLC subnet.
- Example:
PLC IP: `192.168.12.X`
AG-702 IP: `192.168.12.1`
[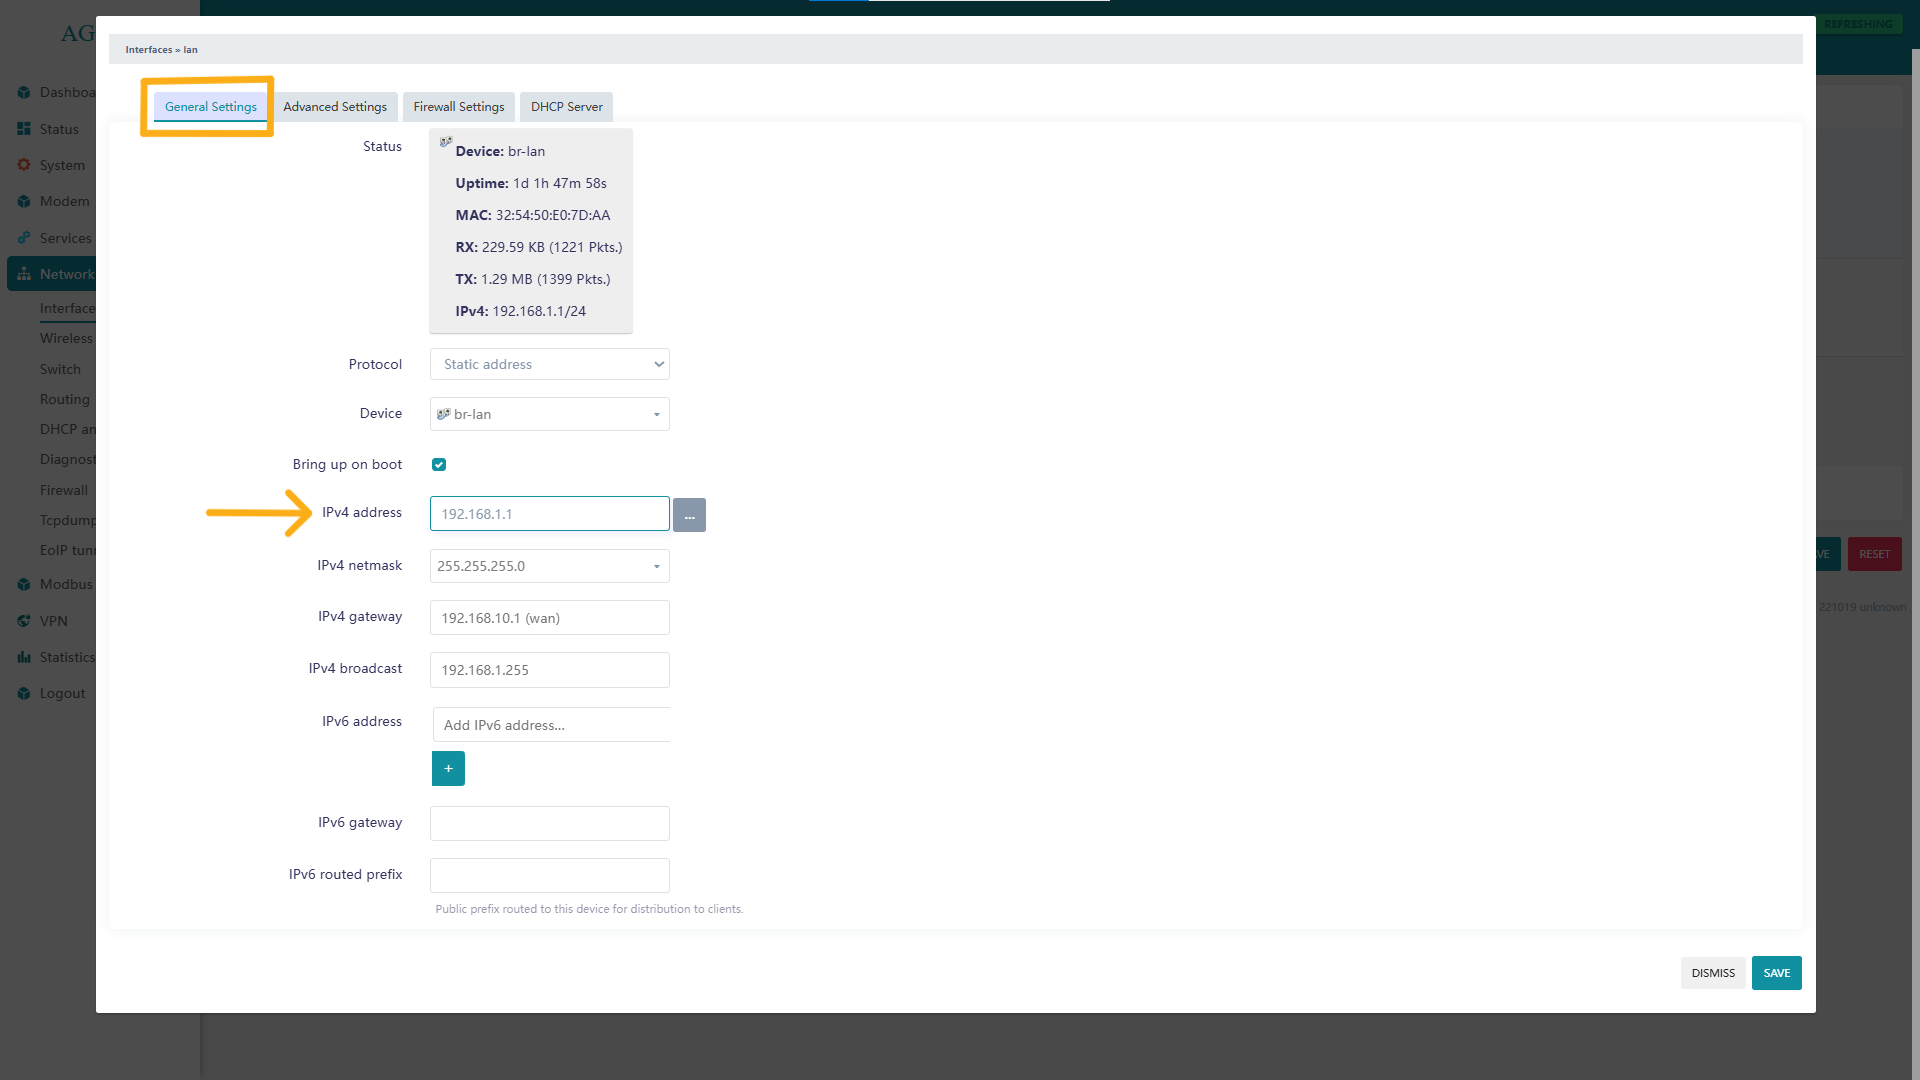](https://docs.atreyo.in/uploads/images/gallery/2026-04/KqYimage.png)
3. Click Save, then Save & Apply.
##### 1.2 Firewall Configuration
1. Navigate to: Network → Firewall
2. In the General Settings tab:
- Set all fields to Accept
- Select all available Zone checkboxes.
3. Click Save
[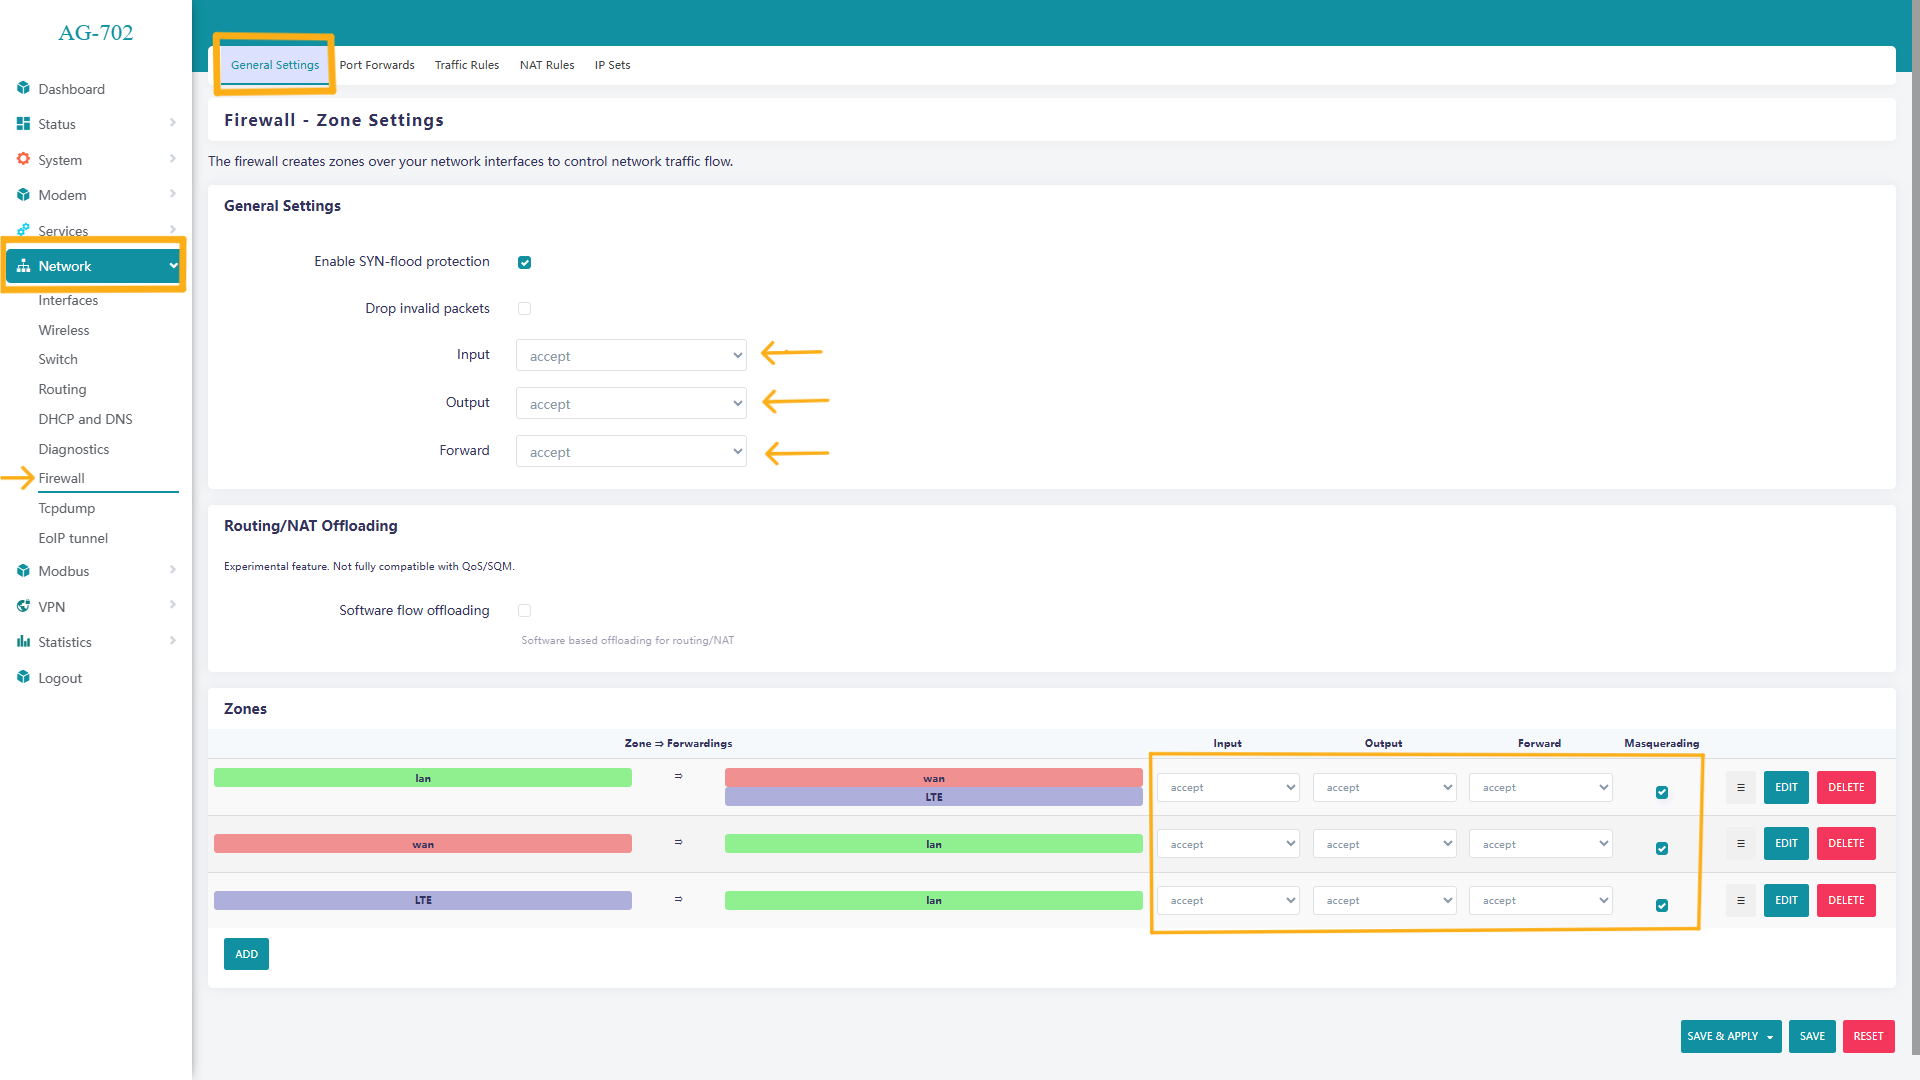](https://docs.atreyo.in/uploads/images/gallery/2026-04/K7wimage.png)
##### 1.3 Port Forwarding Configuration
1. Open the Port Forwards tab.
2. Edit each existing port-forward rule one by one:
- Set Internal IP Address to: `192.168.12.1`
3. Save the rule.
4. Repeat this step for all port-forward entries.
[](https://docs.atreyo.in/uploads/images/gallery/2026-04/vfWimage.png)
5. Click Save & Apply.
Result of Network Setup: The AG-702 gateway is now configured with a static LAN IP (`192.168.12.1`) aligned with the PLC subnet and is ready for registration in ATRA RMS.
---
### 2. Device Registration in ATRA RMS
1. Log in to ATRA RMS.
2. Navigate to the Devices section.
3. Register the AG-702 gateway.
4. Verify that the device status shows Online.
---
### 3. VPN Tunnel Configuration in ATRA RMS
1. Navigate to the VPN section in ATRA RMS.
2. Create a new VPN tunnel.
3. Enable the VPN tunnel.
4. Add the registered AG-702 device to the tunnel.
5. Enable Network Forwarding.
6. Add the PLC network/subnet to the forwarding list.
- Example:
PLC IP: `192.168.12.X`
Network Forwarding IP 1: `192.168.12.0/24`
7. Add the device to a Device Group.
8. Add required users to the VPN tunnel.
9. Start the VPN tunnel.
---
### 4. Remote PLC Access via ATRA VPN Client
1. Open the ATRA VPN Client (Windows Application).
2. Log in using your ATRA RMS credentials.
3. Connect to the configured VPN tunnel.
4. Open a terminal/command prompt.
5. Verify PLC connectivity: `ping 192.168.12.X`
- A successful reply confirms that the PLC is reachable through the VPN.
---
### 5. PLC Programming
1. Open the PLC programming software.
2. Go online with the PLC.
3. Perform program upload or download securely over the VPN connection.
---
### Outcome
The PLC is now securely accessible from a remote location through ATRA RMS, using the AG-702 gateway and an encrypted VPN tunnel.
All communication is routed through the gateway, ensuring secure and controlled access without exposing the PLC or the local industrial network to the public internet.