Modbus Master
Modbus Master is an application that allows full operation of devices connected to the gateway over Modbus RTU and Modbus TCP/IP. Also, the application allows sending data to the server via MQTT, TCP/IP JSON and saving to storage.
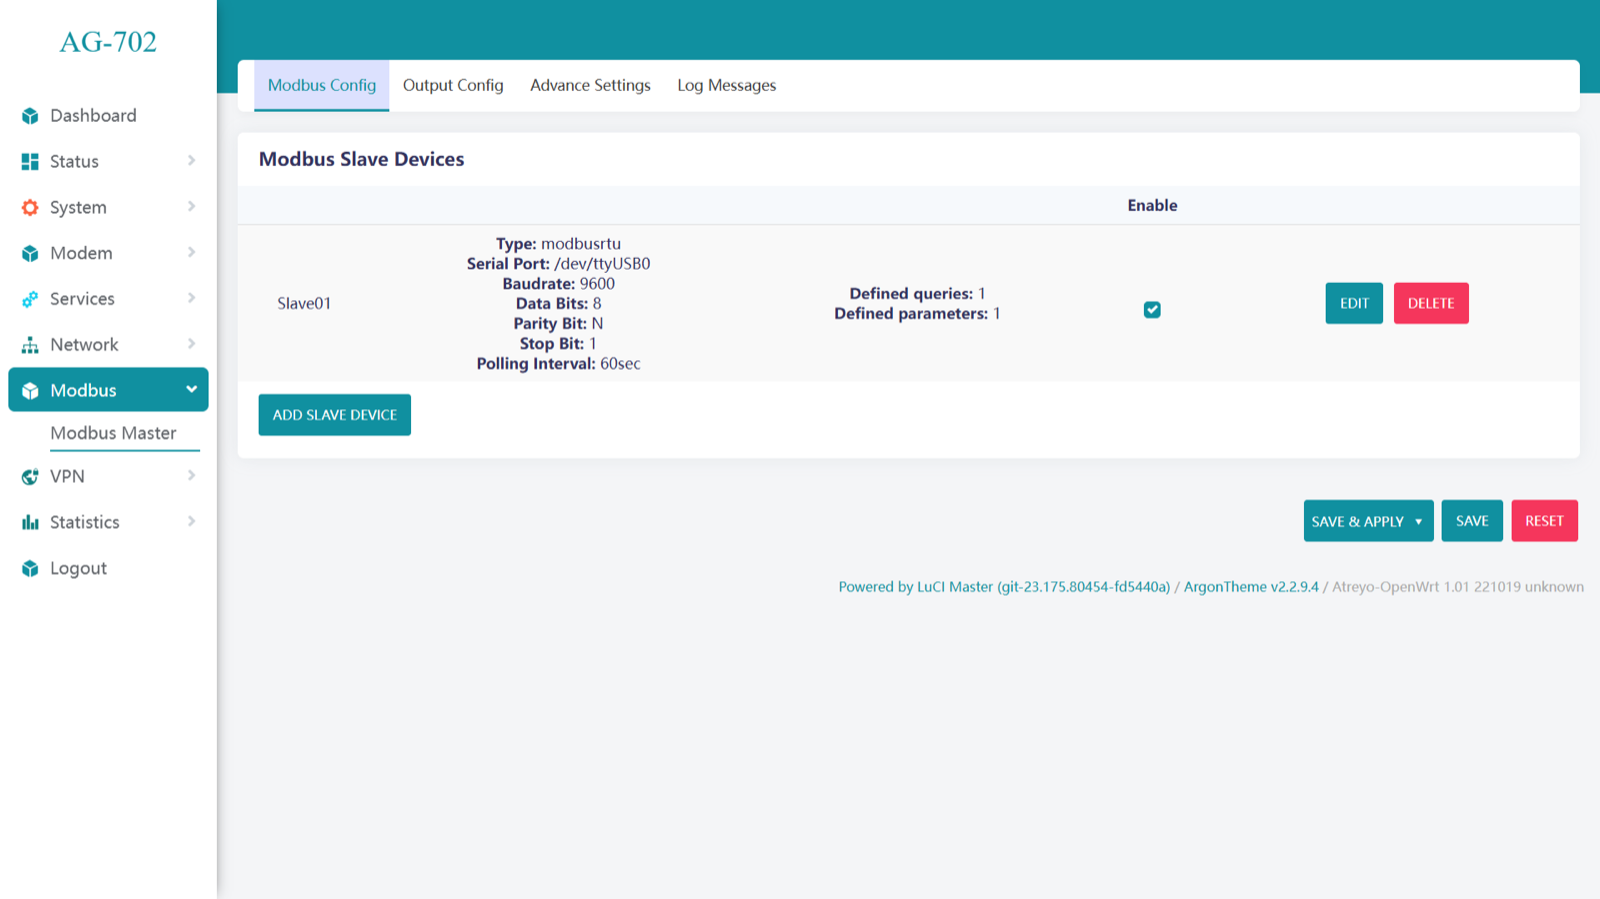
Configuration of Modbus Master
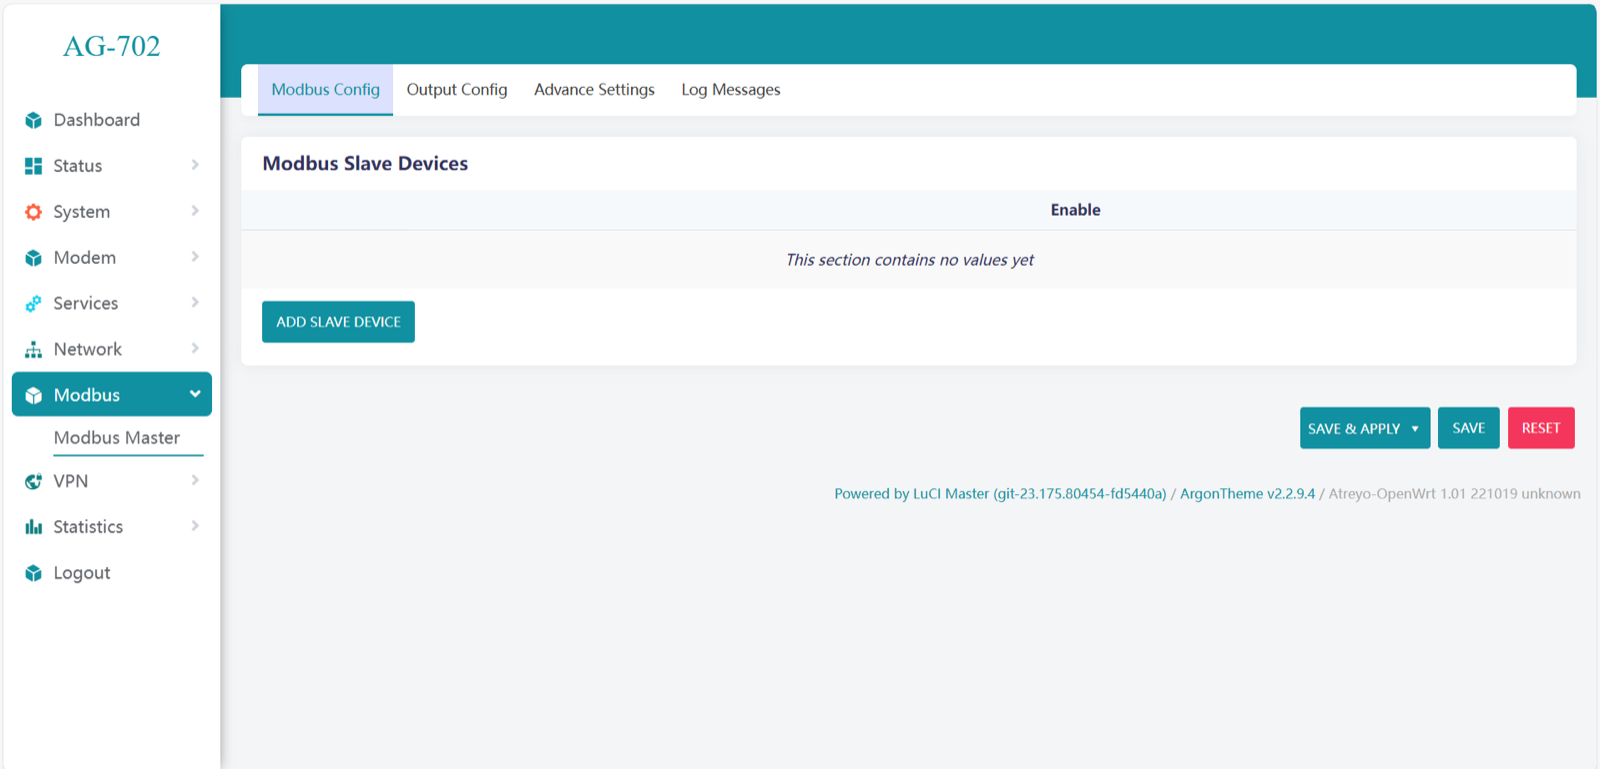
To open Modbus master, go to Modbus > Modbus Master
Add Slave Device in Modbus Slave Devices
Enter a slave device name of your choice & Select communication protocol.
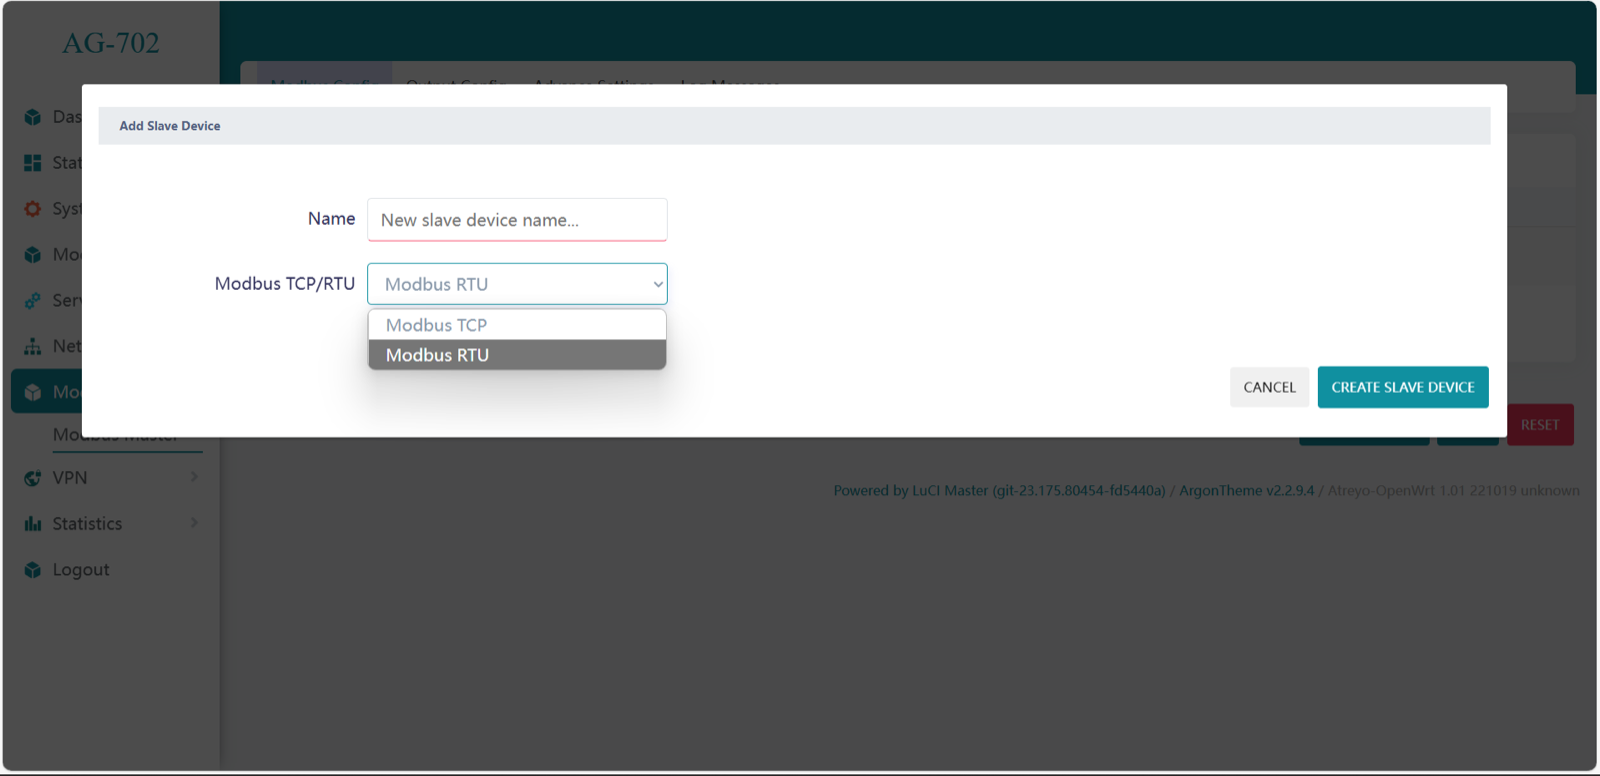
Modbus RTU
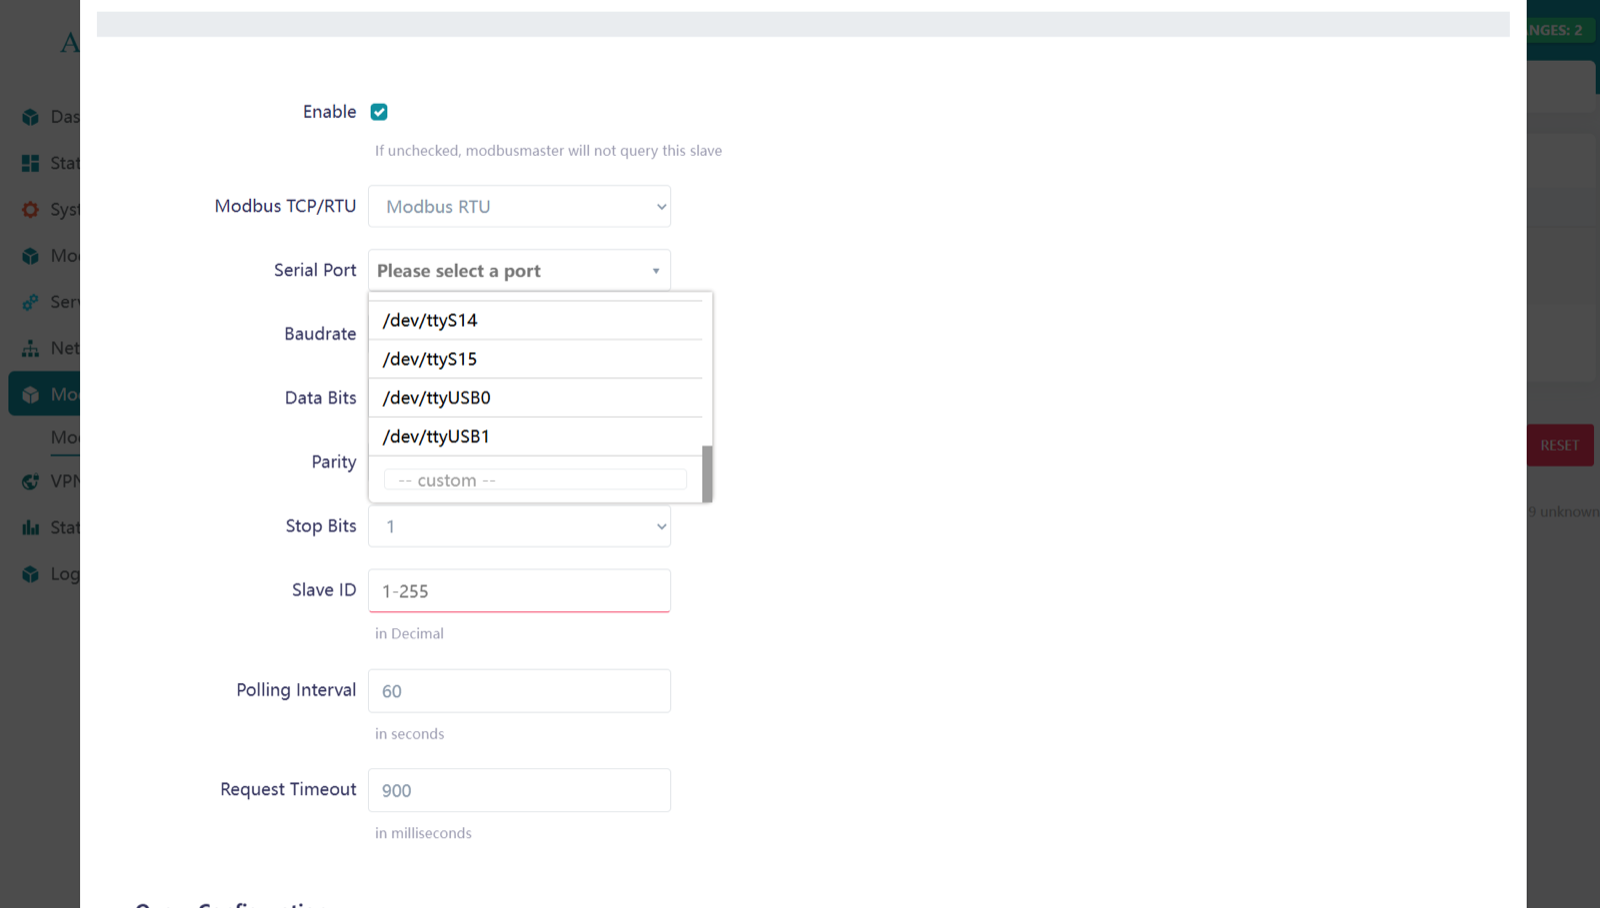
Need to enter the serial port configuration according to the slave device. Here in AG-702 serial port USB0 is for RS232 & USB1 is for RS485. If you use a USB to serial converter, you can customize the port name by adding another port.
/dev/ttyUSB0 = RS232
/dev/ttyUSB1 = RS485
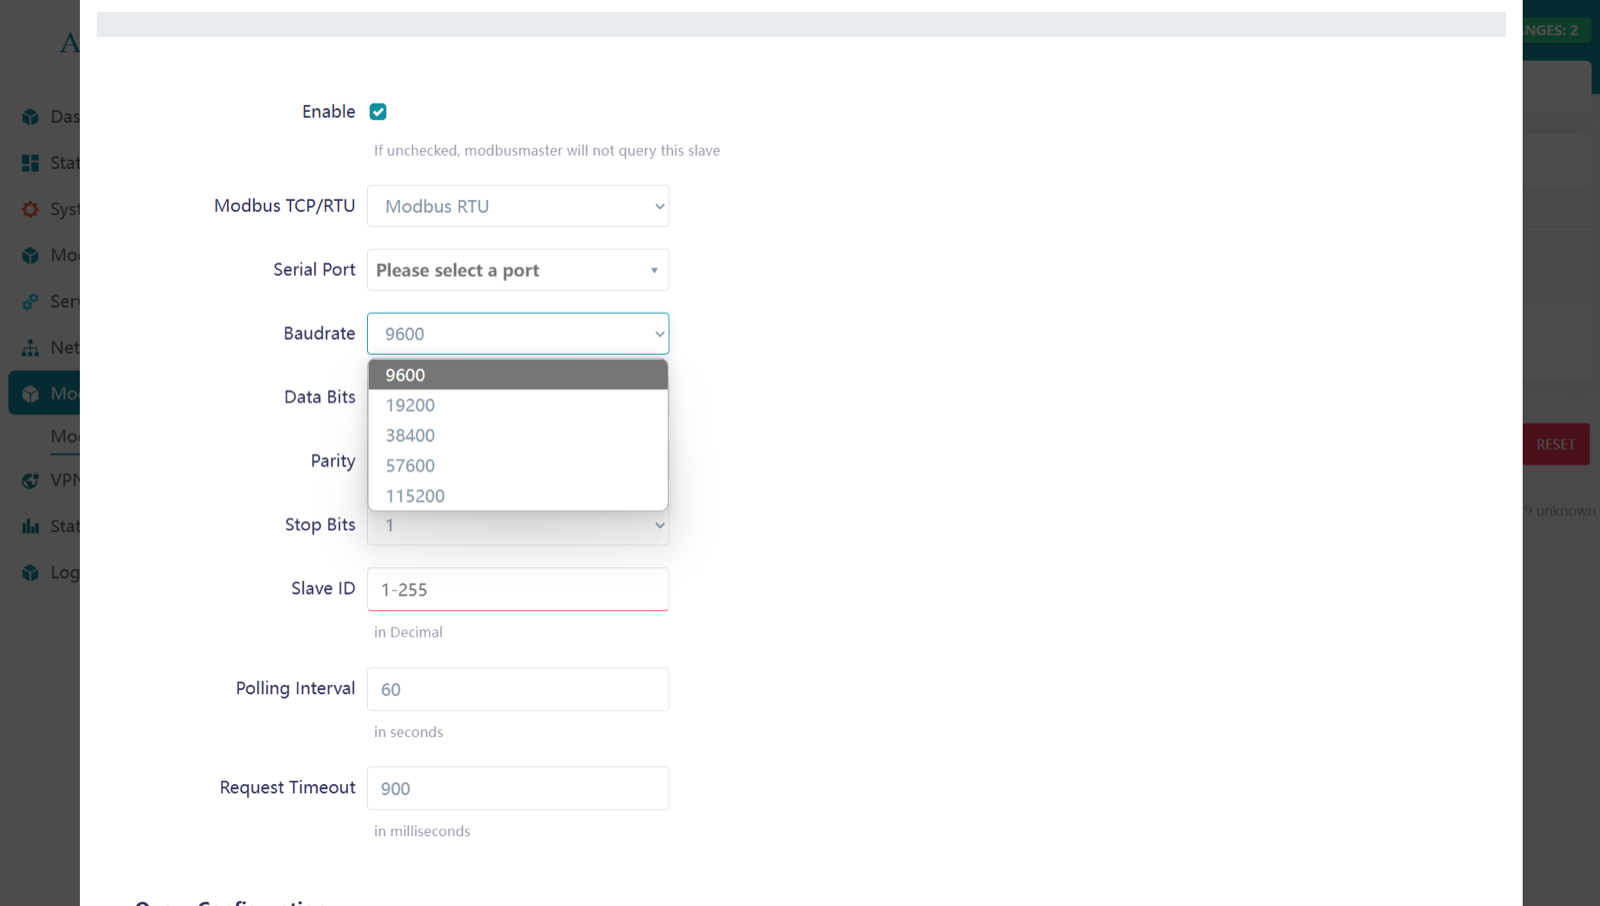
Change the baud-rate according to your slave device requirement. In Modbus RTU 9600 baud-rate is most common used.
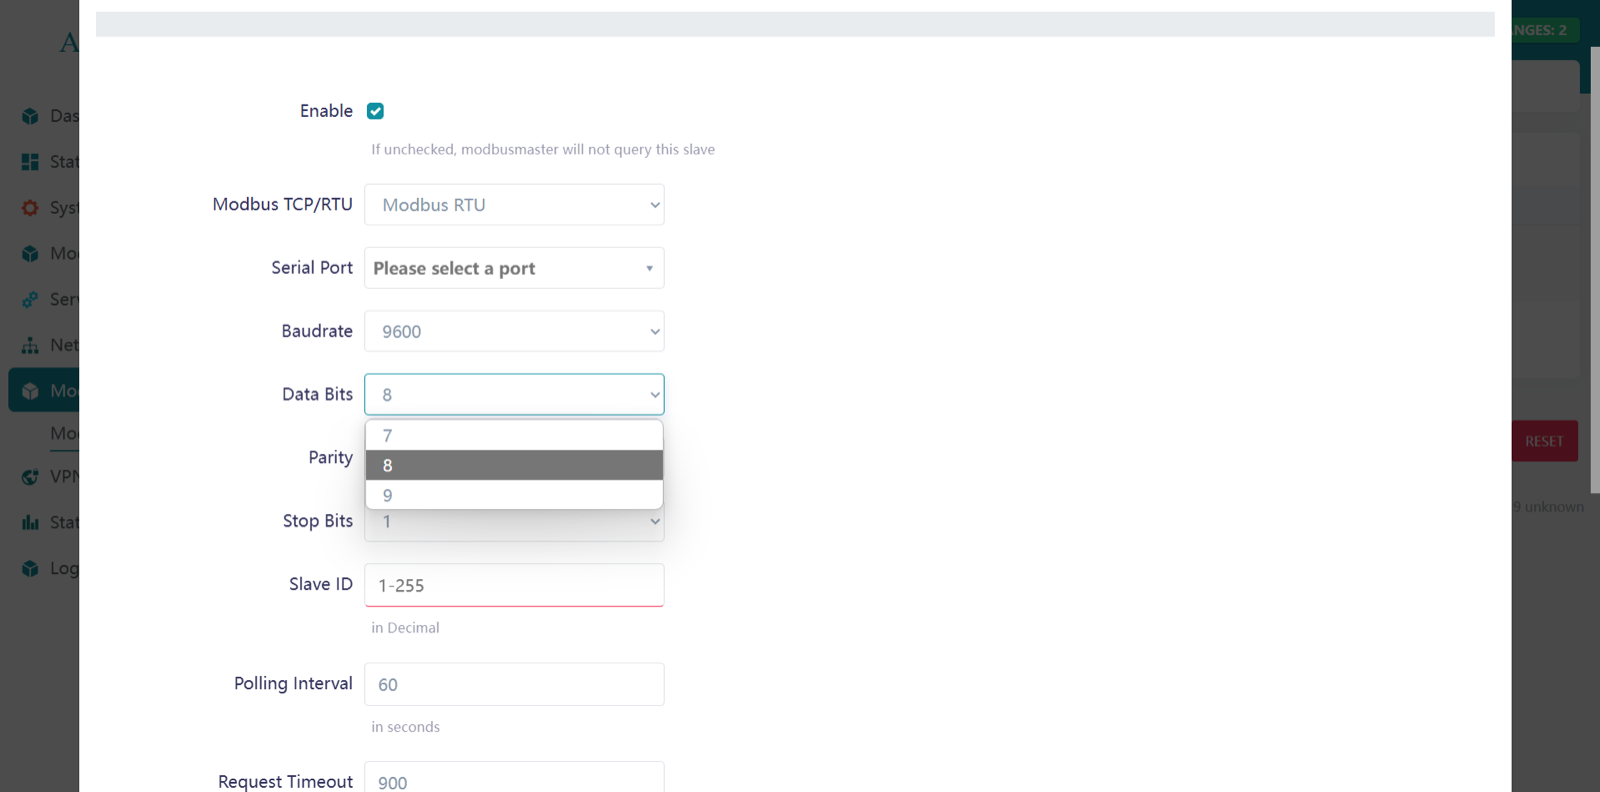
Data bits are used to represent each character or data unit in a communication protocol. Select the appropriate setting.
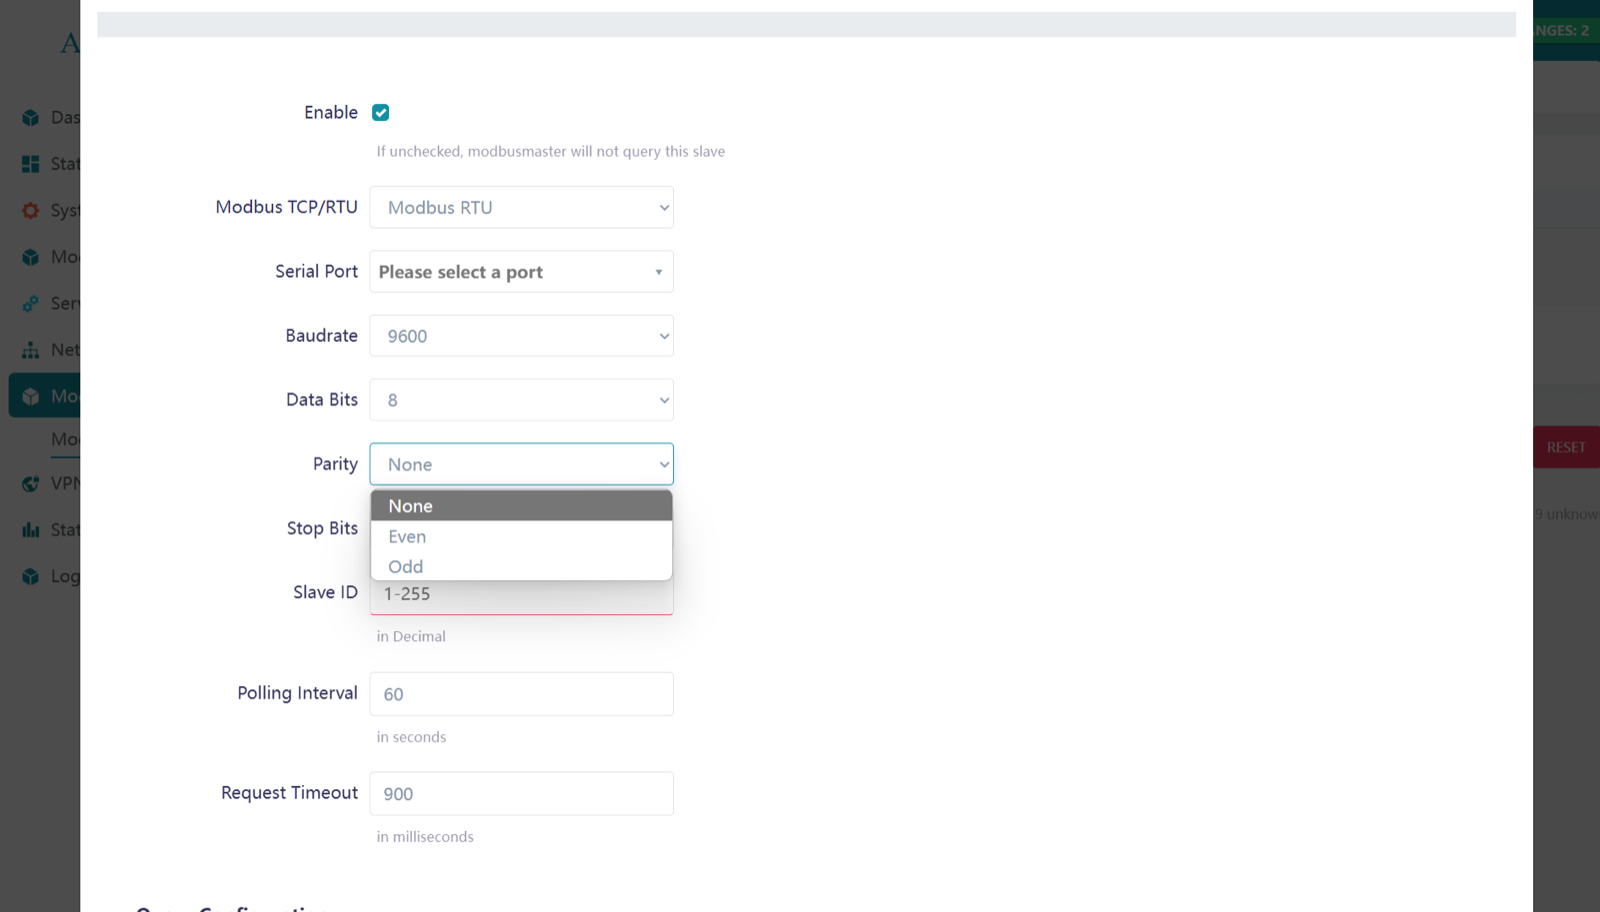
Parity is an error-checking mechanism to detect data transmission errors. Most devices use the None option.
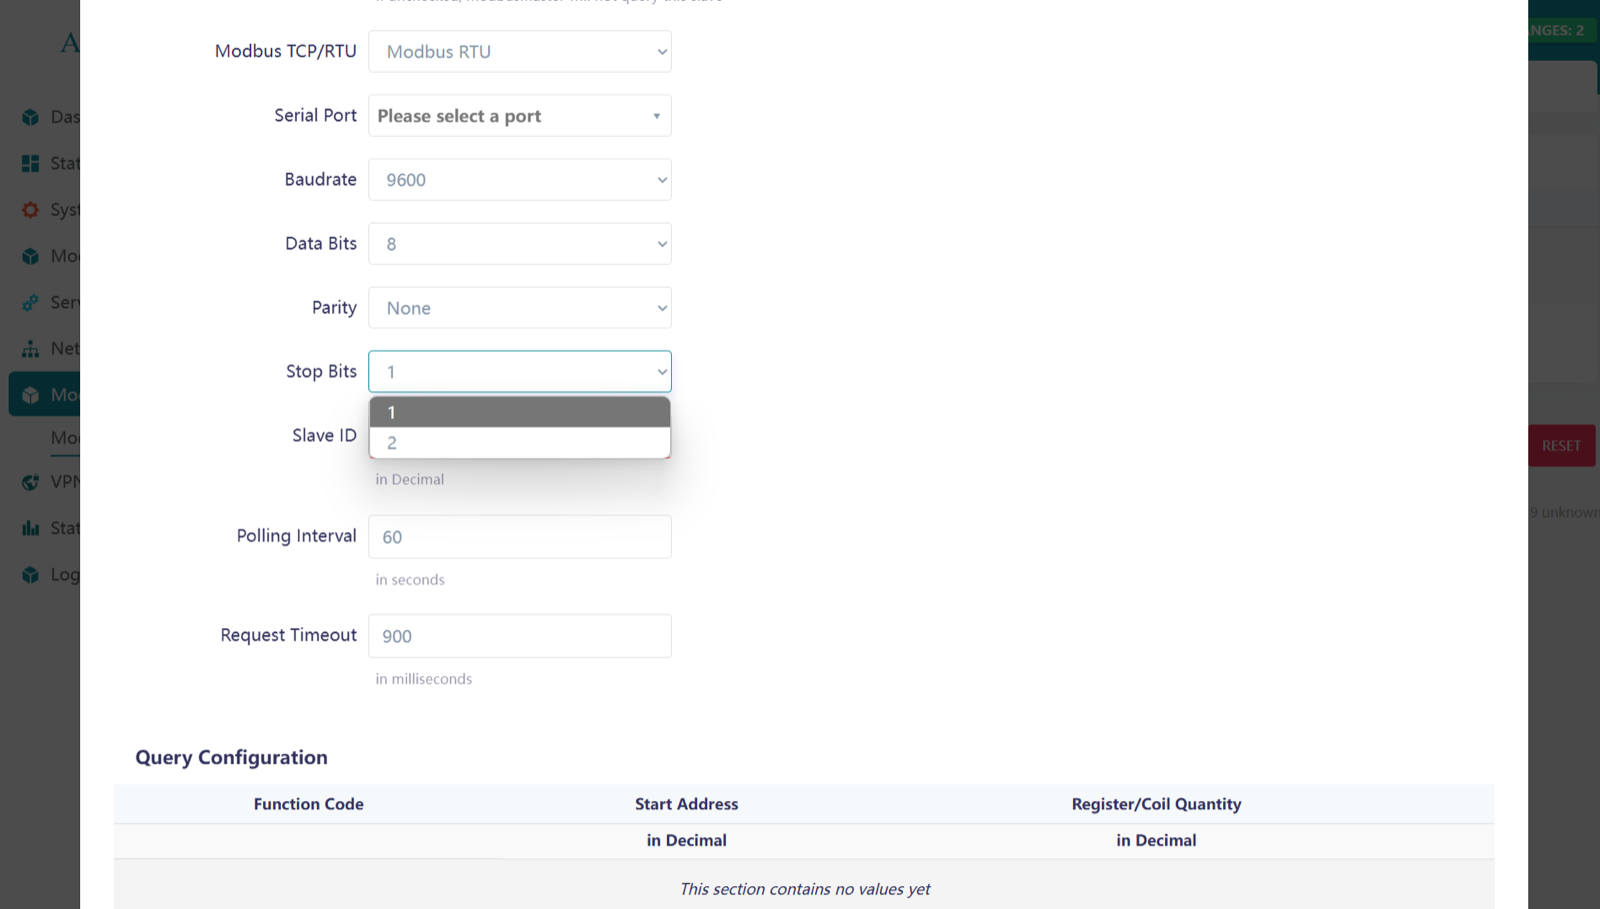
A stop bit signals the end of a data frame, helping the receiver recognize when one byte is complete.
- 1 Stop Bit: For stable connections and higher speed.
- 2 Stop Bits: For increased reliability or when devices need more processing time.
Select the option according to the slave device.
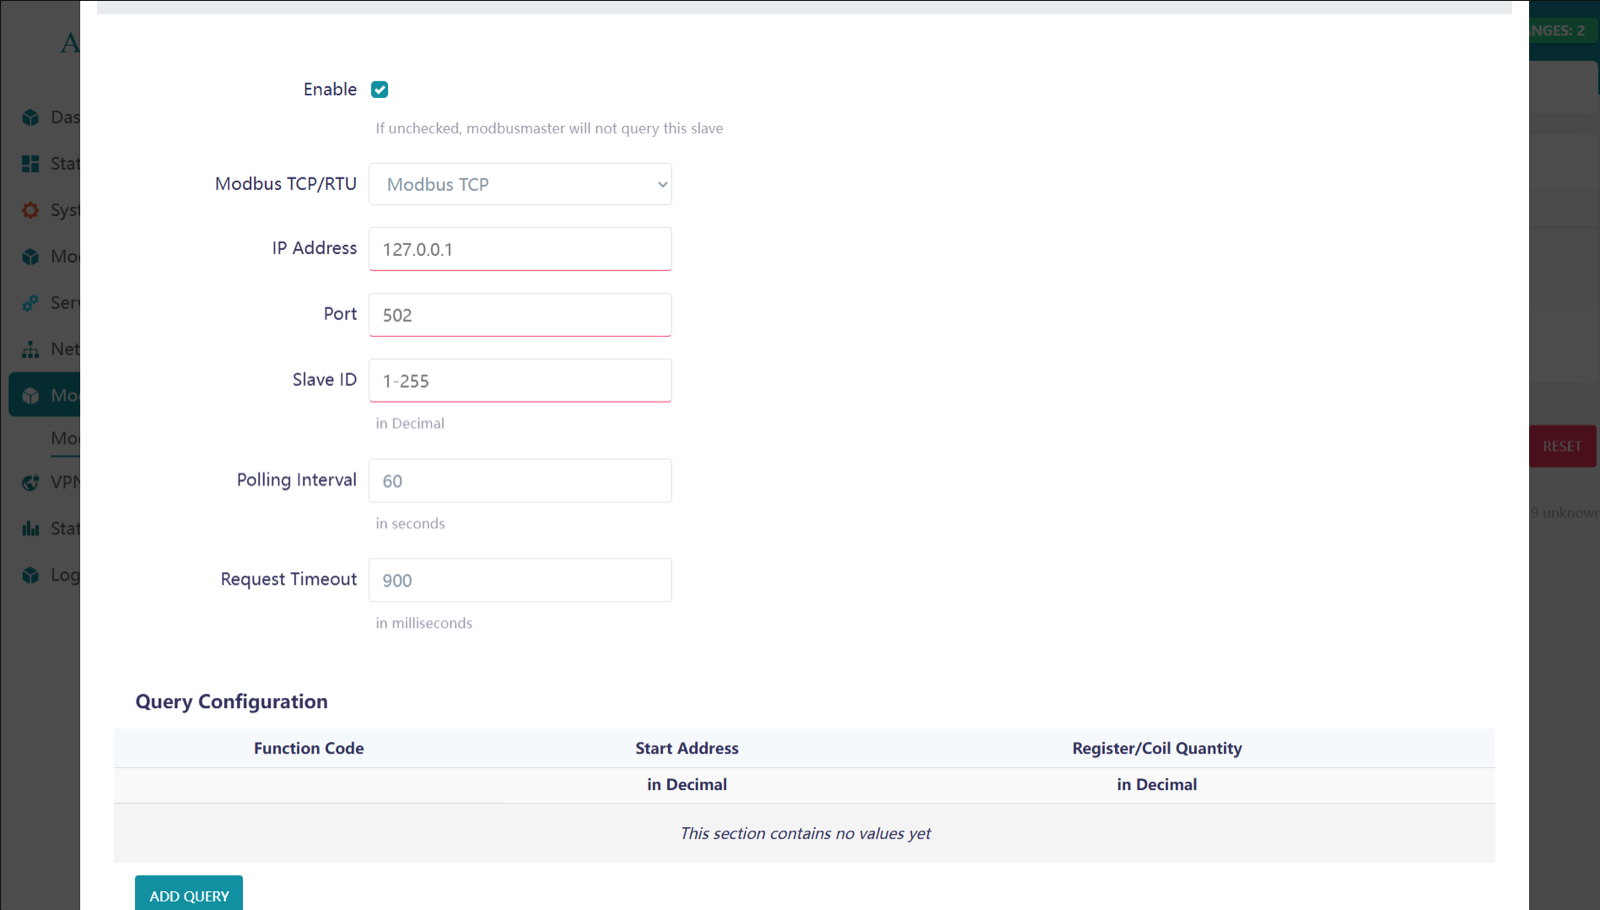
Modbus TCP/IP
In Modbus TCP/IP, only the IP address and port number (typically 502) are required for communication.
Modbus slave
After entering these parameters, the next configuration steps are the same for both Modbus TCP and Modbus RTU.
You should enter the slave ID (1-255), polling interval, and request timeout according to your requirements.
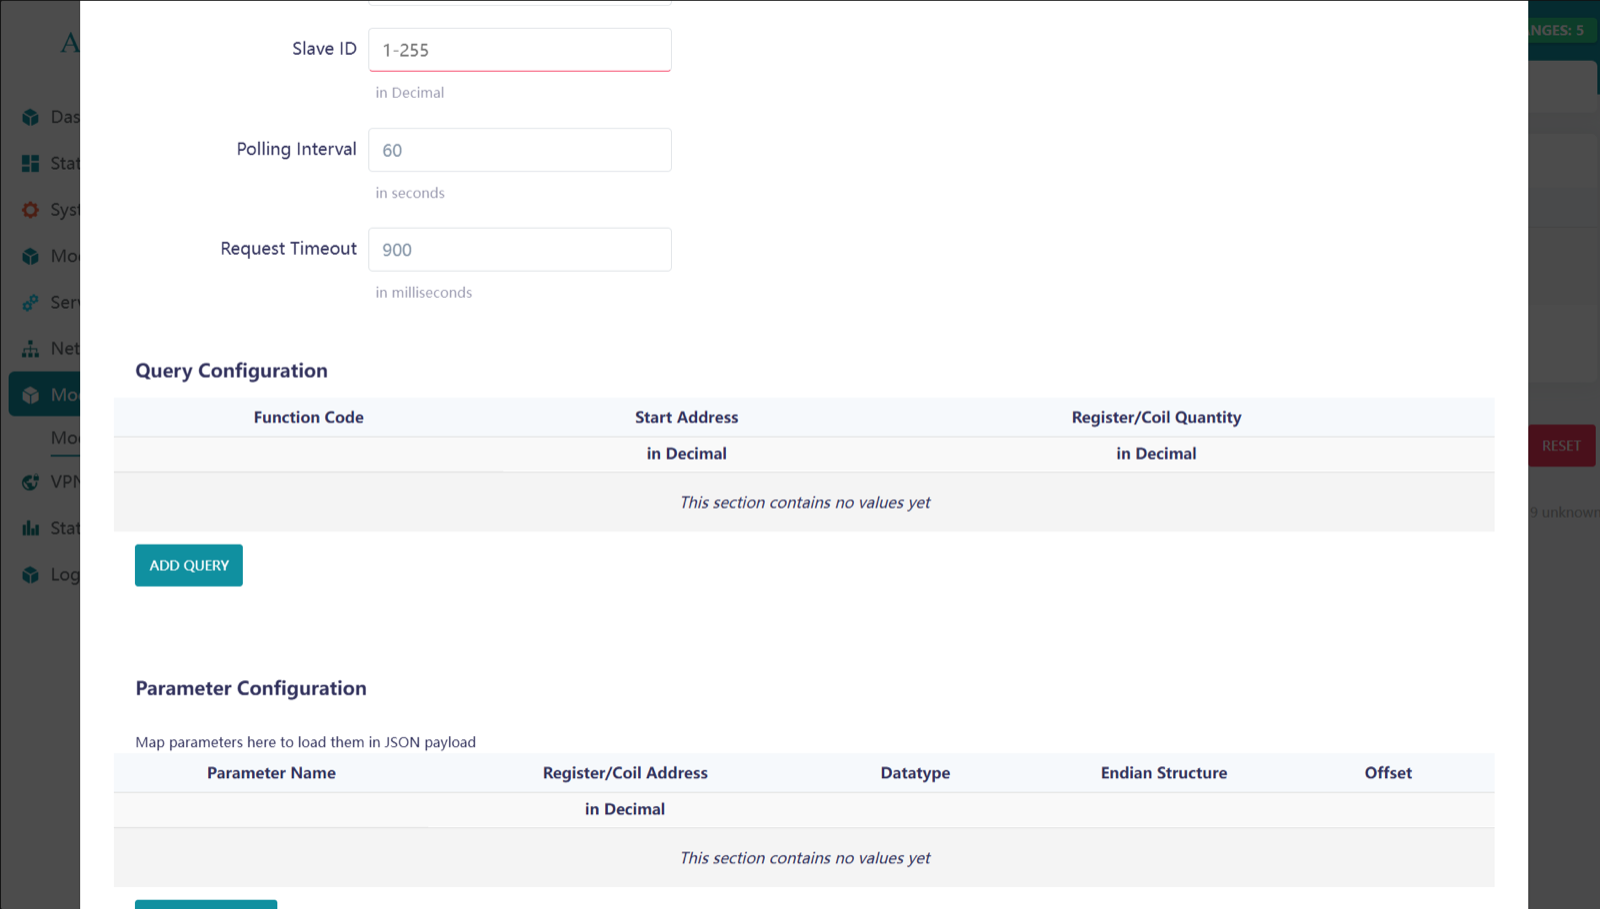
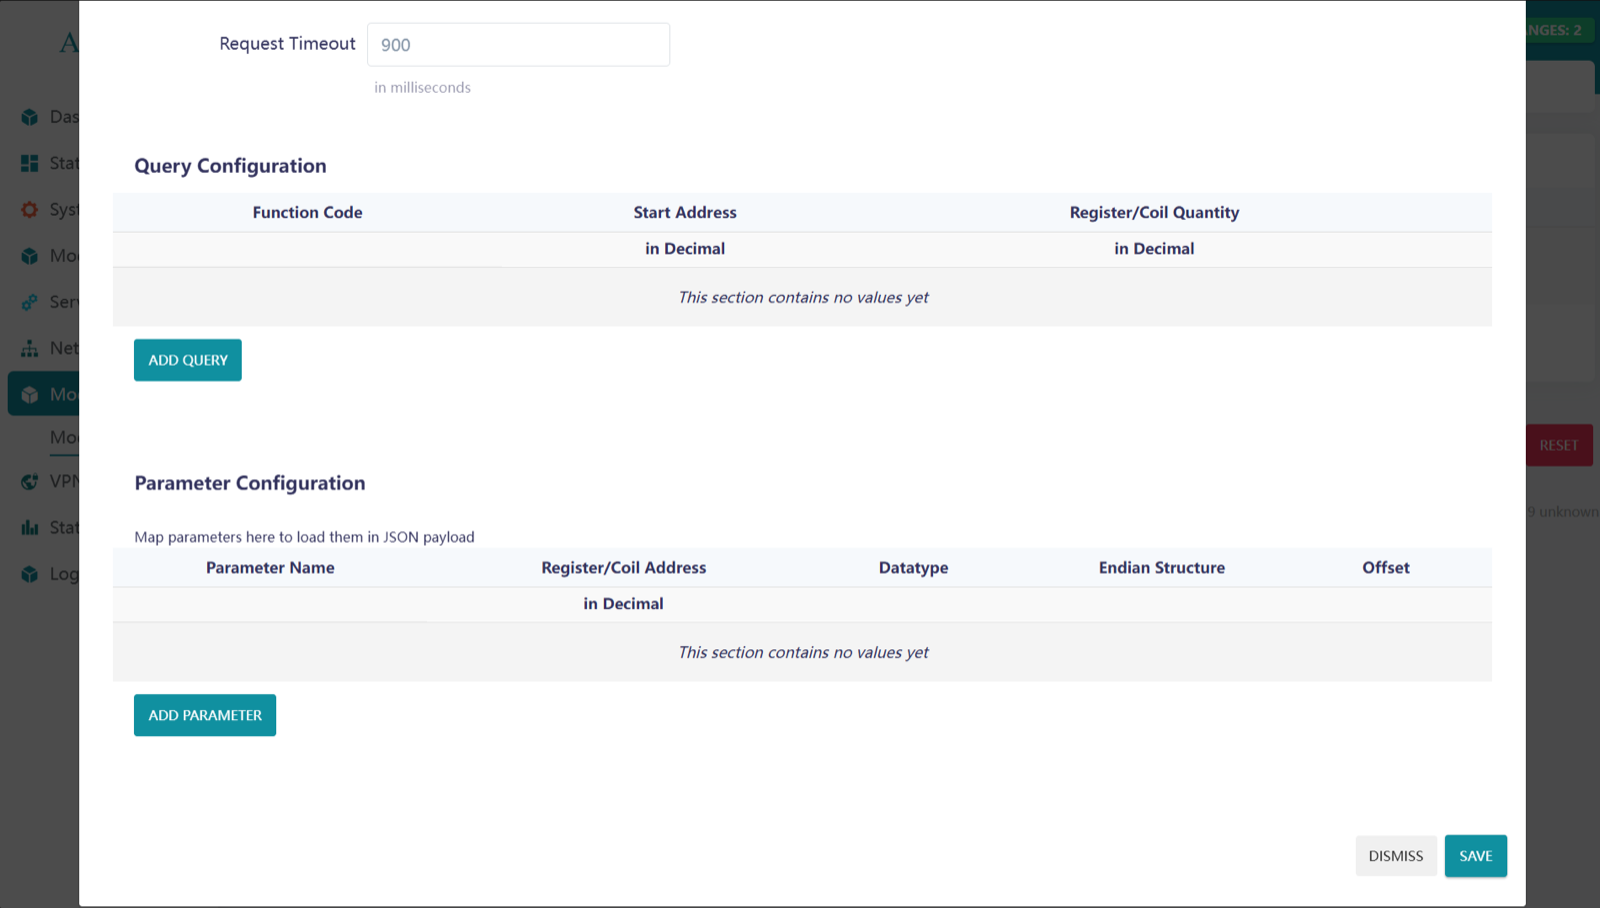
Query Configuration
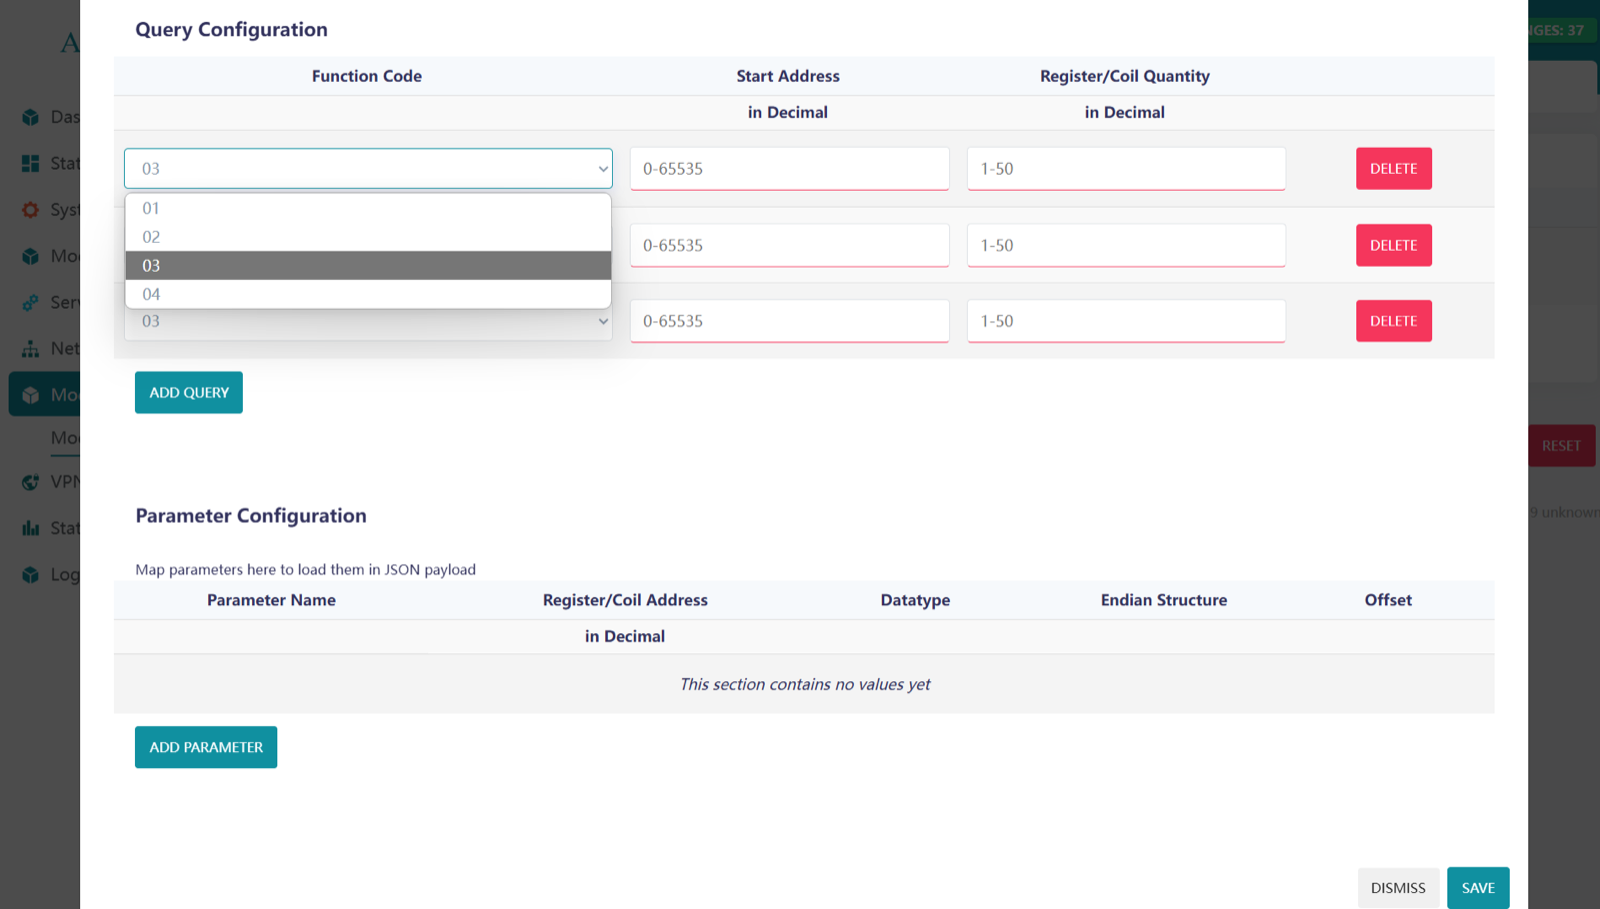
To make a Query, click on ADD QUERY
Enter the Function code, Start Address, Register/Coil number as per the Slave documentation or instruction. Here 1-50 register/coil quantity is supported.
Parameter Configuration
Enter and select the option as per your requirement.
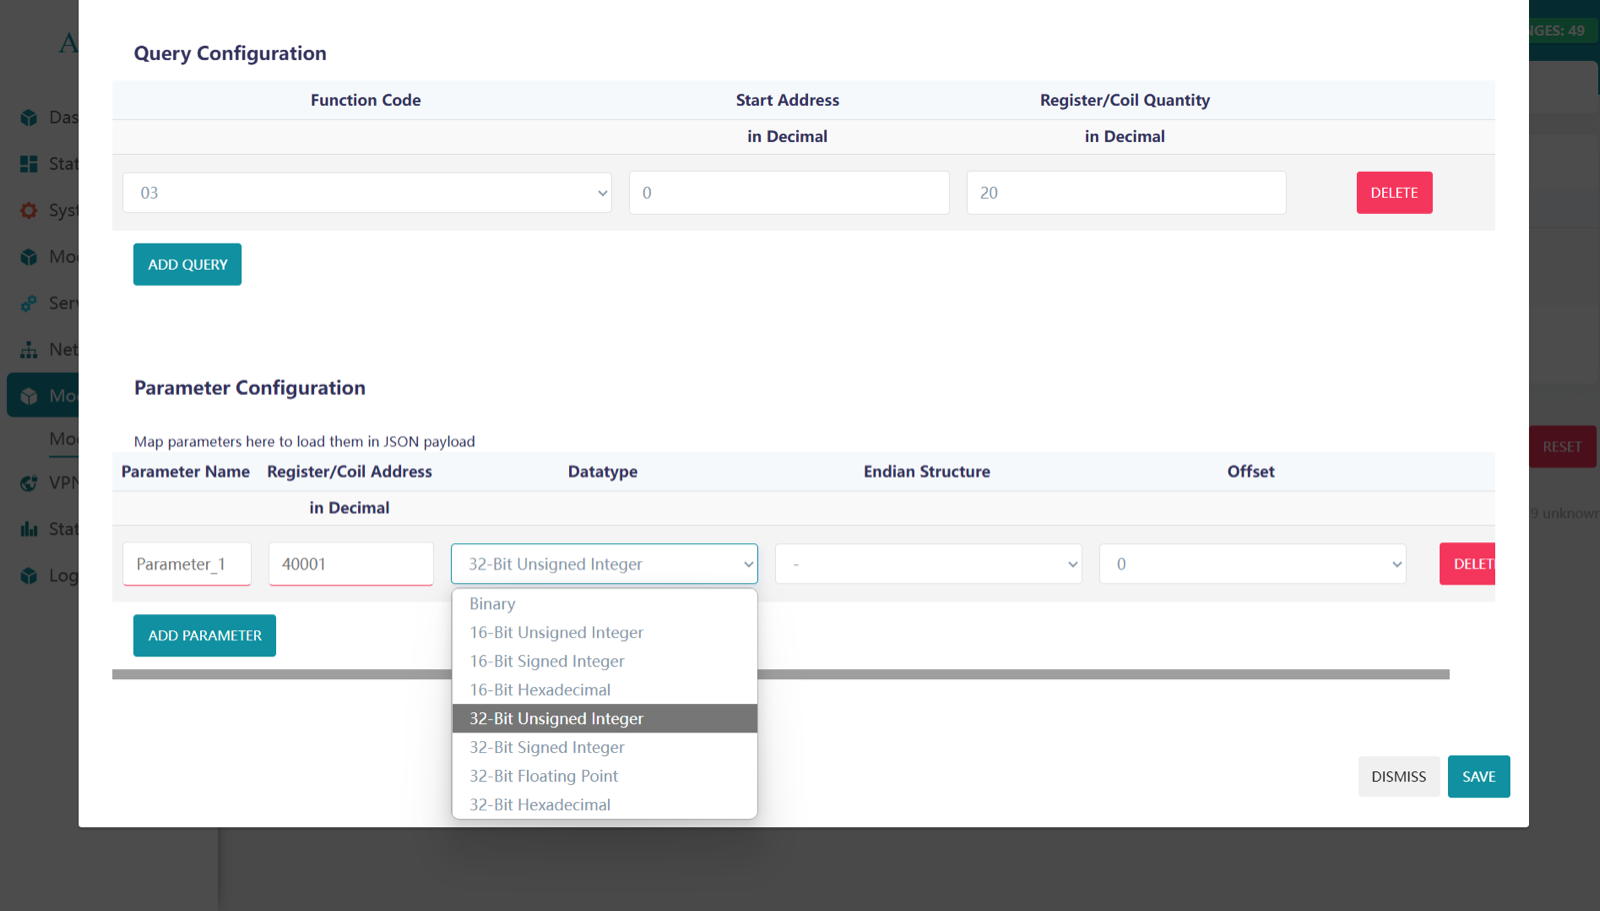
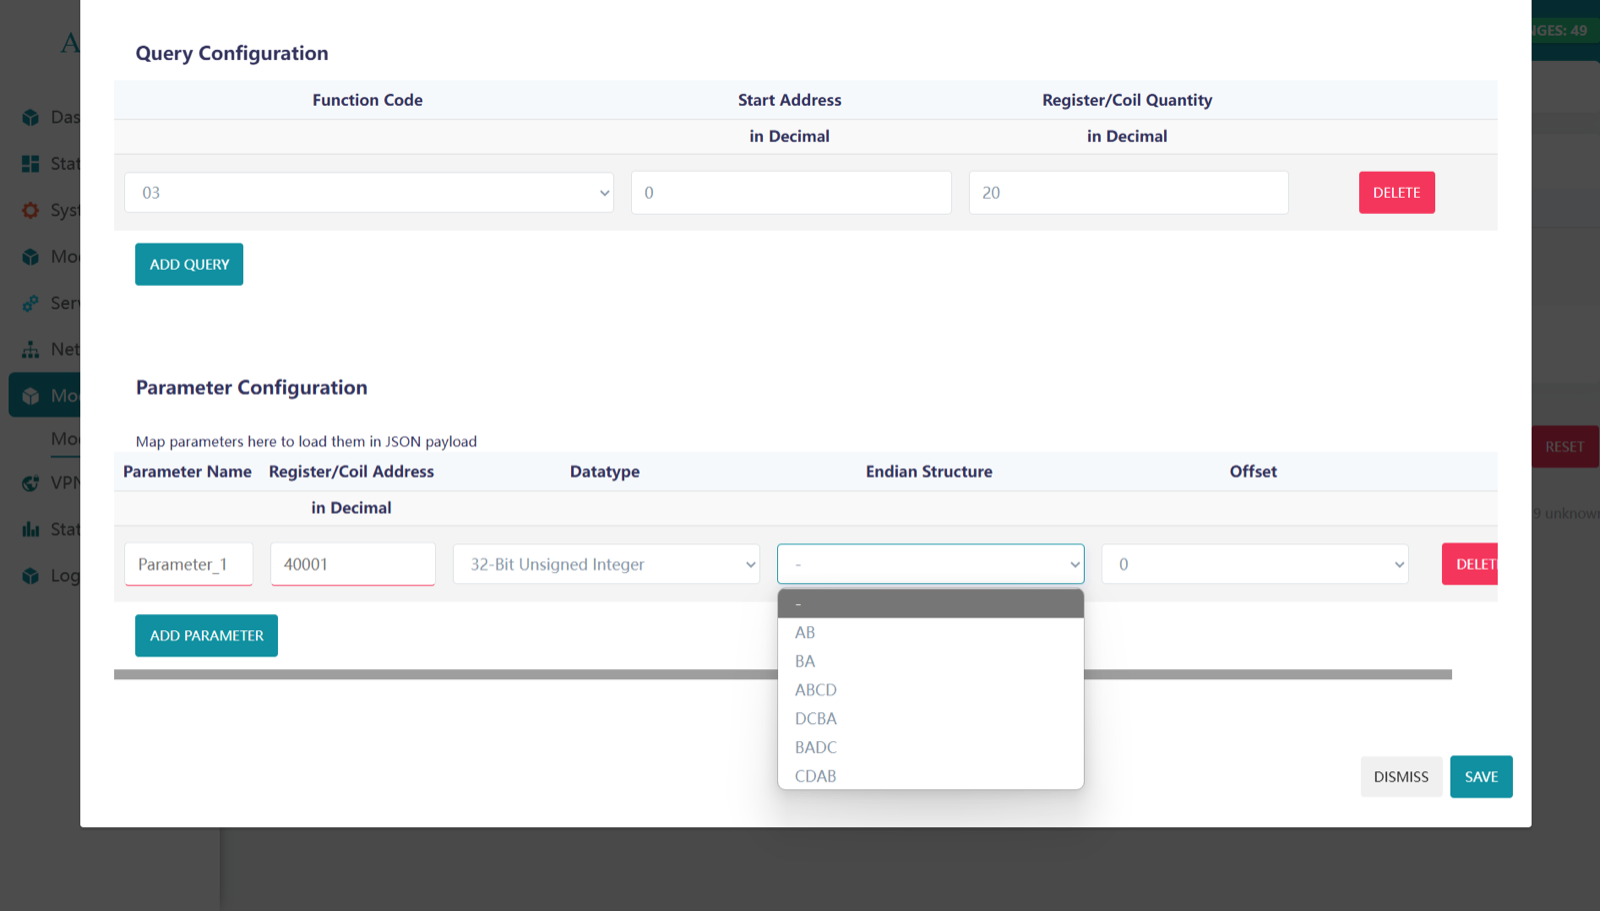

Click on SAVE after entering and selecting the Parameters.
This is how we can configure Modbus and view the details.
And for another slave do the same process by click on ADD SLAVE DEVICE.
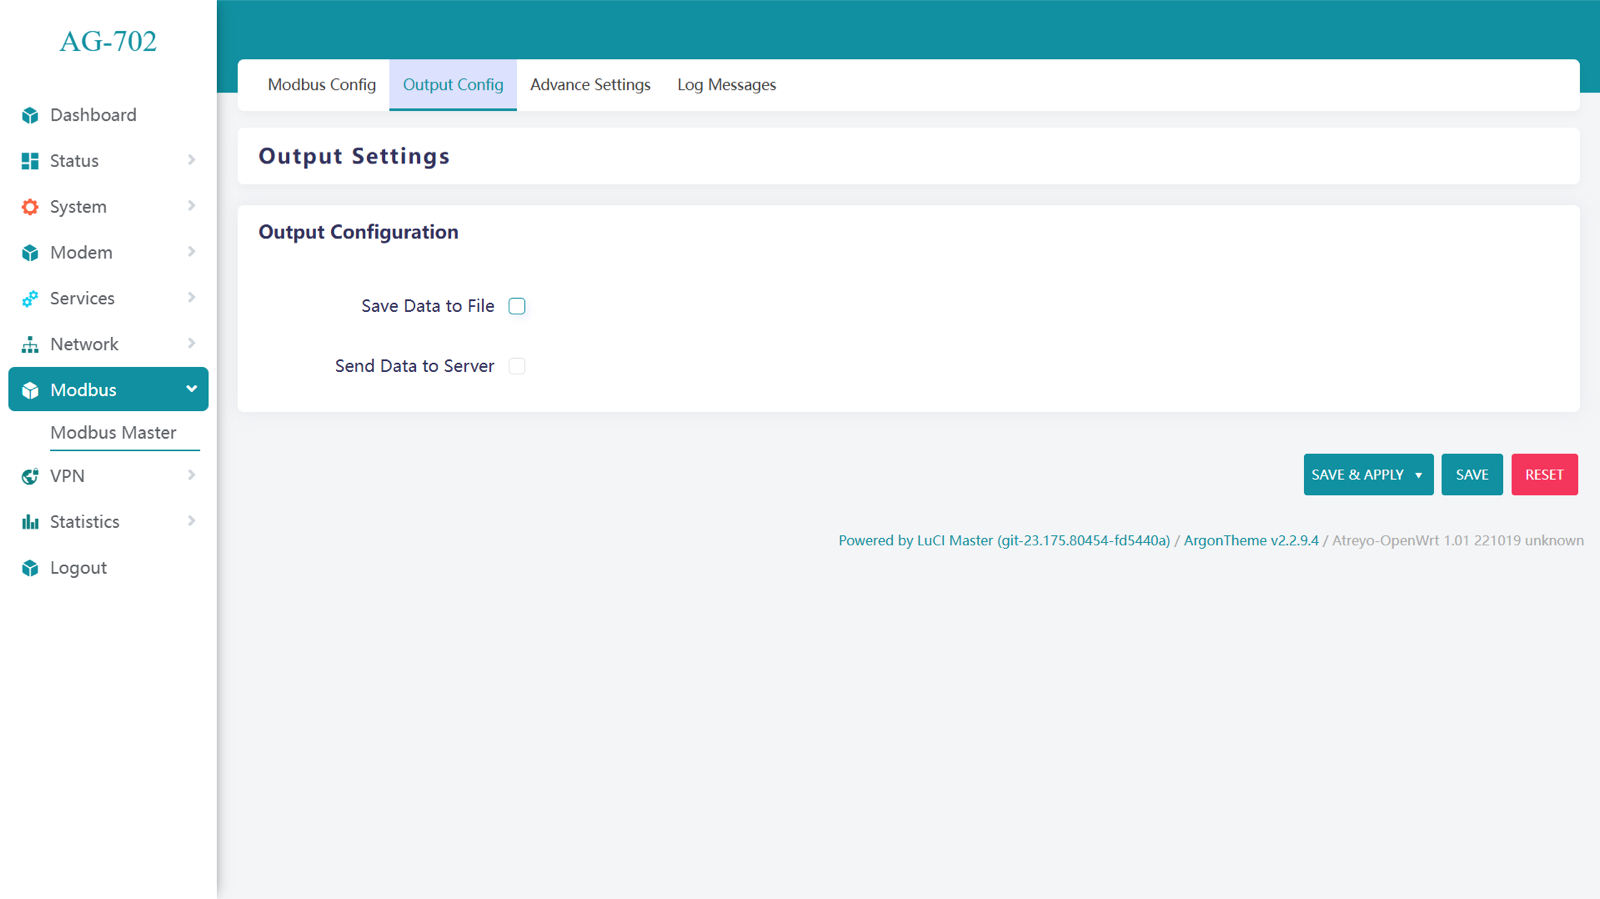
Data output configuration
Click on Output configuration. There are two option:
- Save Data to File.
- Send Data to Server.
We can choose both options and then the data is both sent to the server and saved locally.
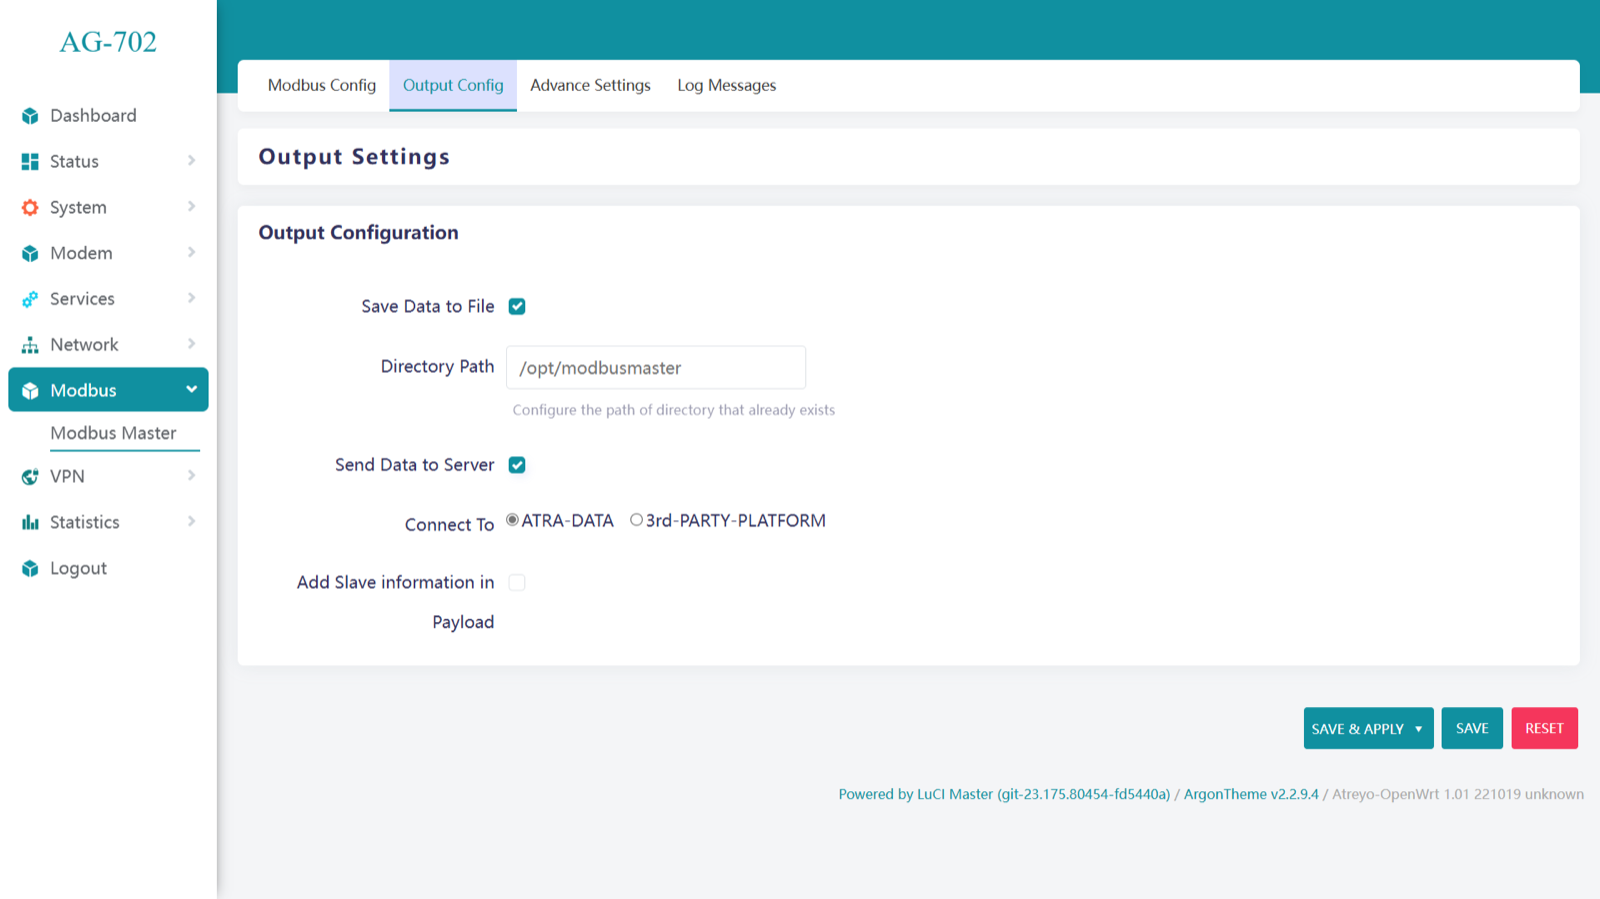
If Save Data to File is selected, it is necessary to specify the folder path.
Send data to server
In Send Data to Server. There are 2 option:
- ATRA-DATA
- 3rd-PARTY-PLATFORM
Atra-Data is Atreyo's system for quick and easy presentation of data in the cloud. In the case of 3rd-PARTY-PLATFORM, we can choose any data platform that communicates using one of the selected ports: HTTP, MQTT or TCP/IP.
ATRA-DATA
ATRA-DATA. In This Data is send direct to the ATRA server without any aditional configuration.
3rd-PARTY-PLATFORM.
There are some parameter required to select protocol – HTTP, MQTT, TCP/IP.
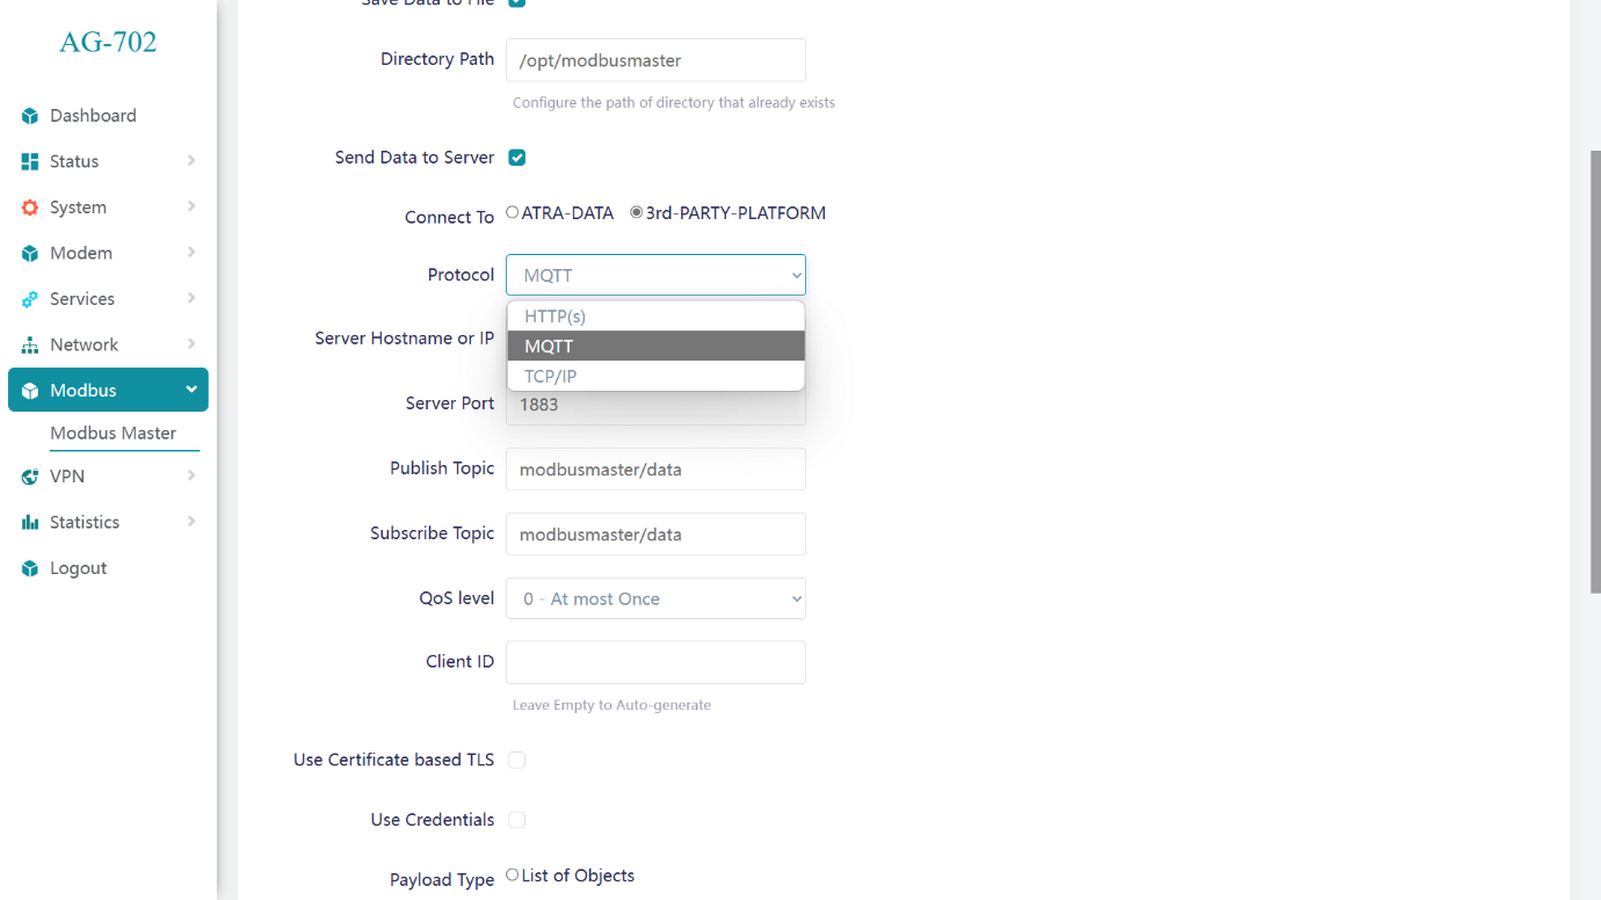
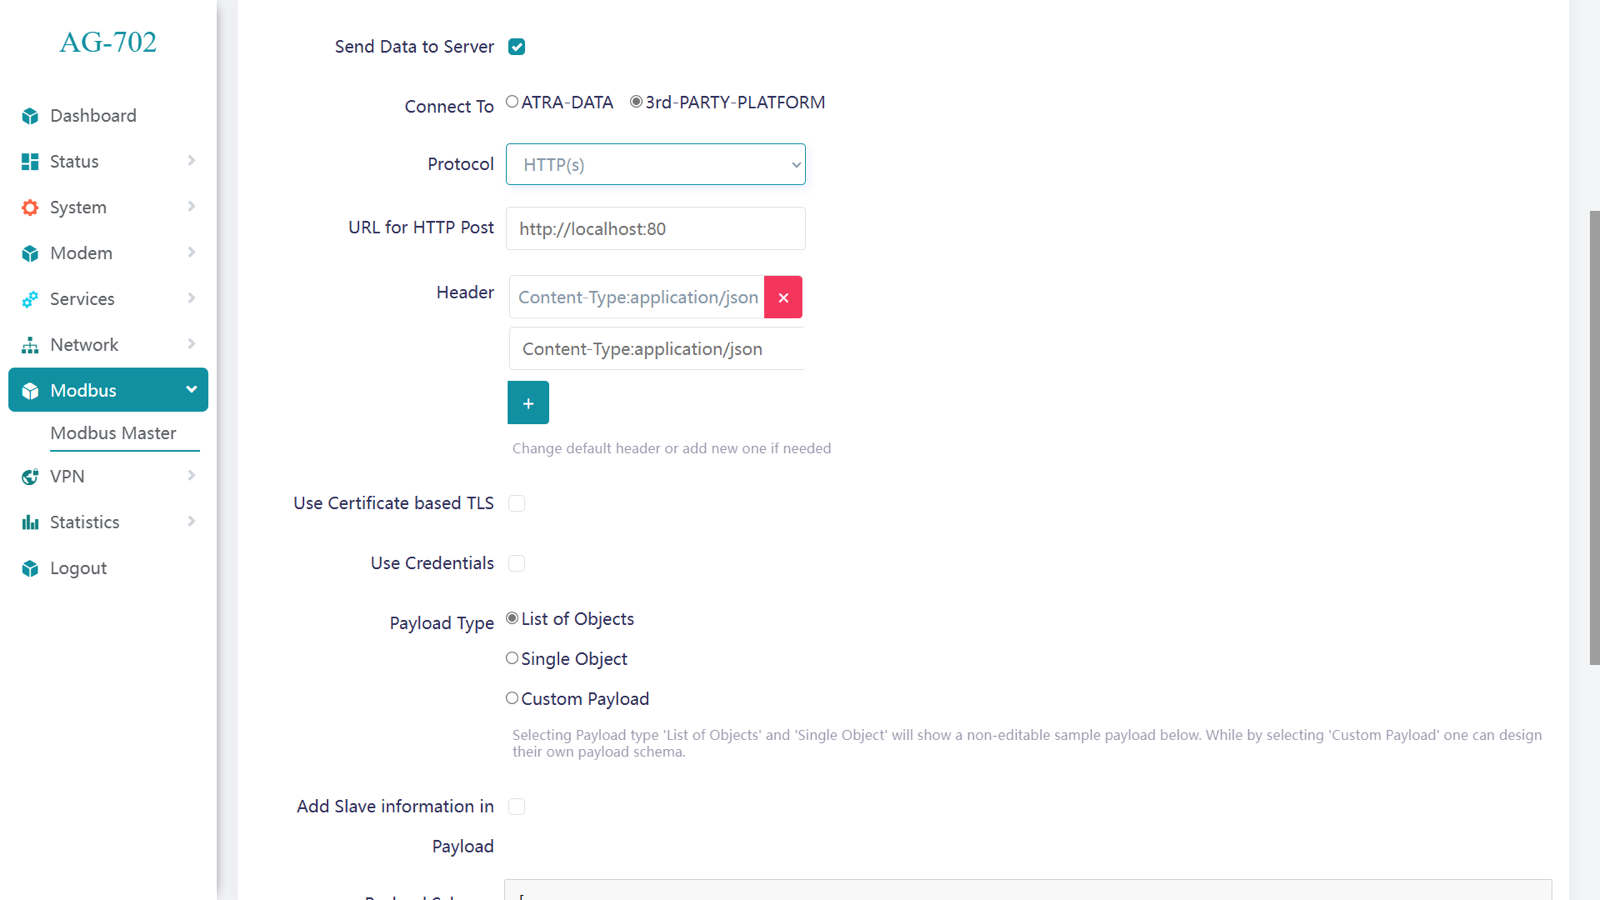
HTTP(s)
Enter the URL For HTTP Post and Header. Where able to Change default header or add new one if needed.
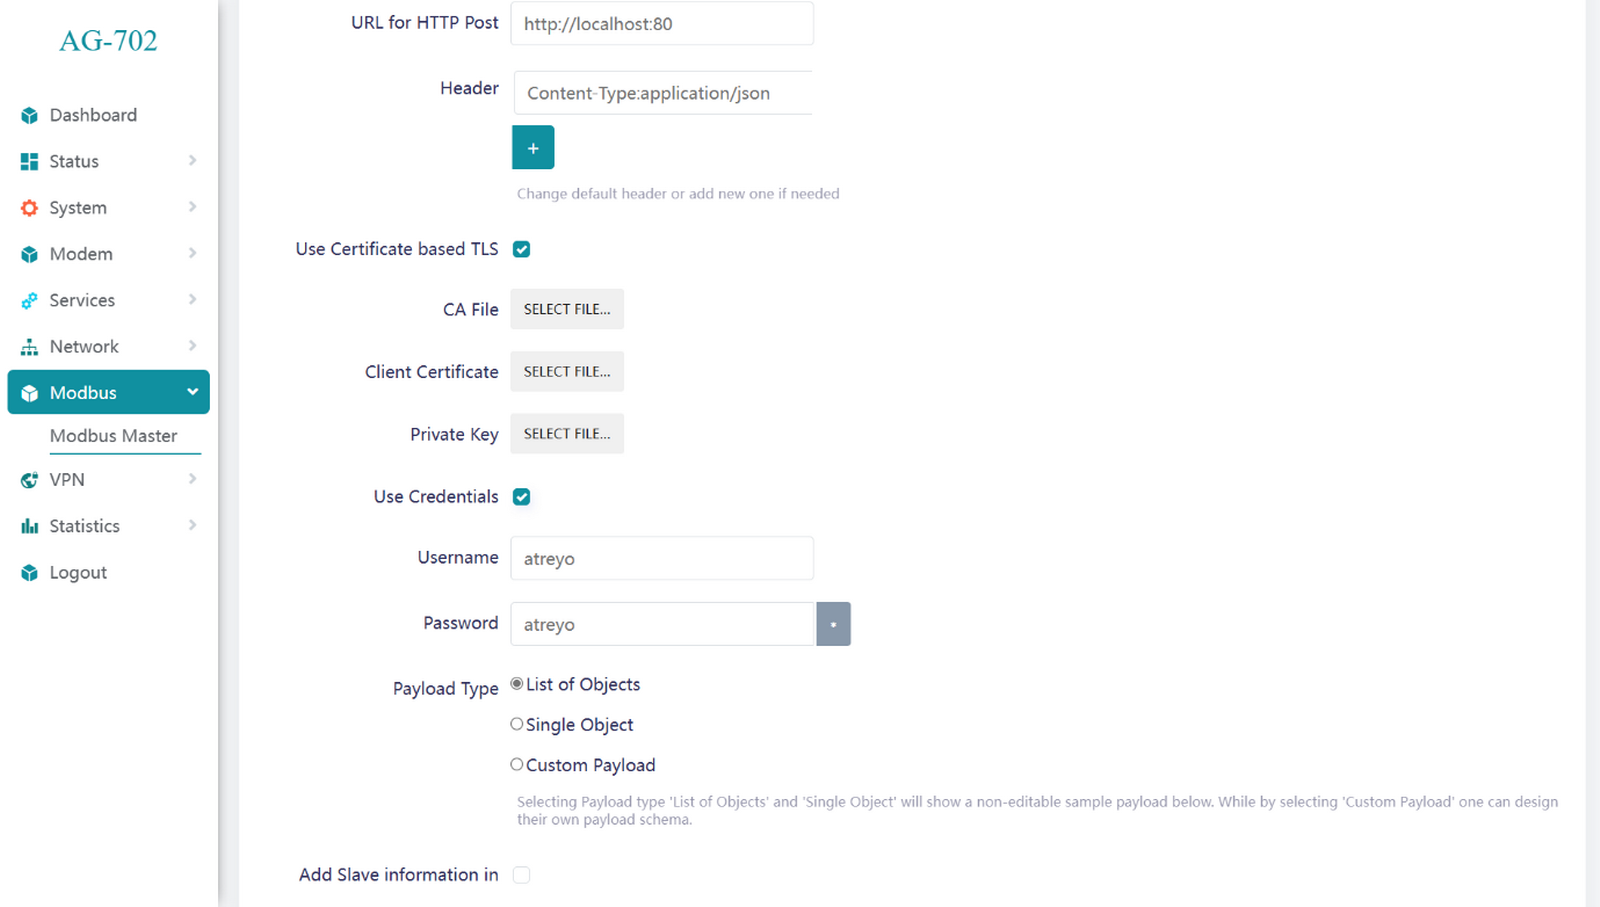
Certificates
To enhance security for data transmission, you can use certificate-based TLS along with credentials.
Certificate-based TLS (Transport Layer Security) require CA(Certificate Authorities) file, Client Certificate and Private key
Credentials often require a username and password for authentication and access control in secure systems.
MQTT
Enter the Server Hostname/IP, Server Port, Publish Topic and Subscribe Topic. Select QoS level as per requirement and Client ID it is Auto-generate.
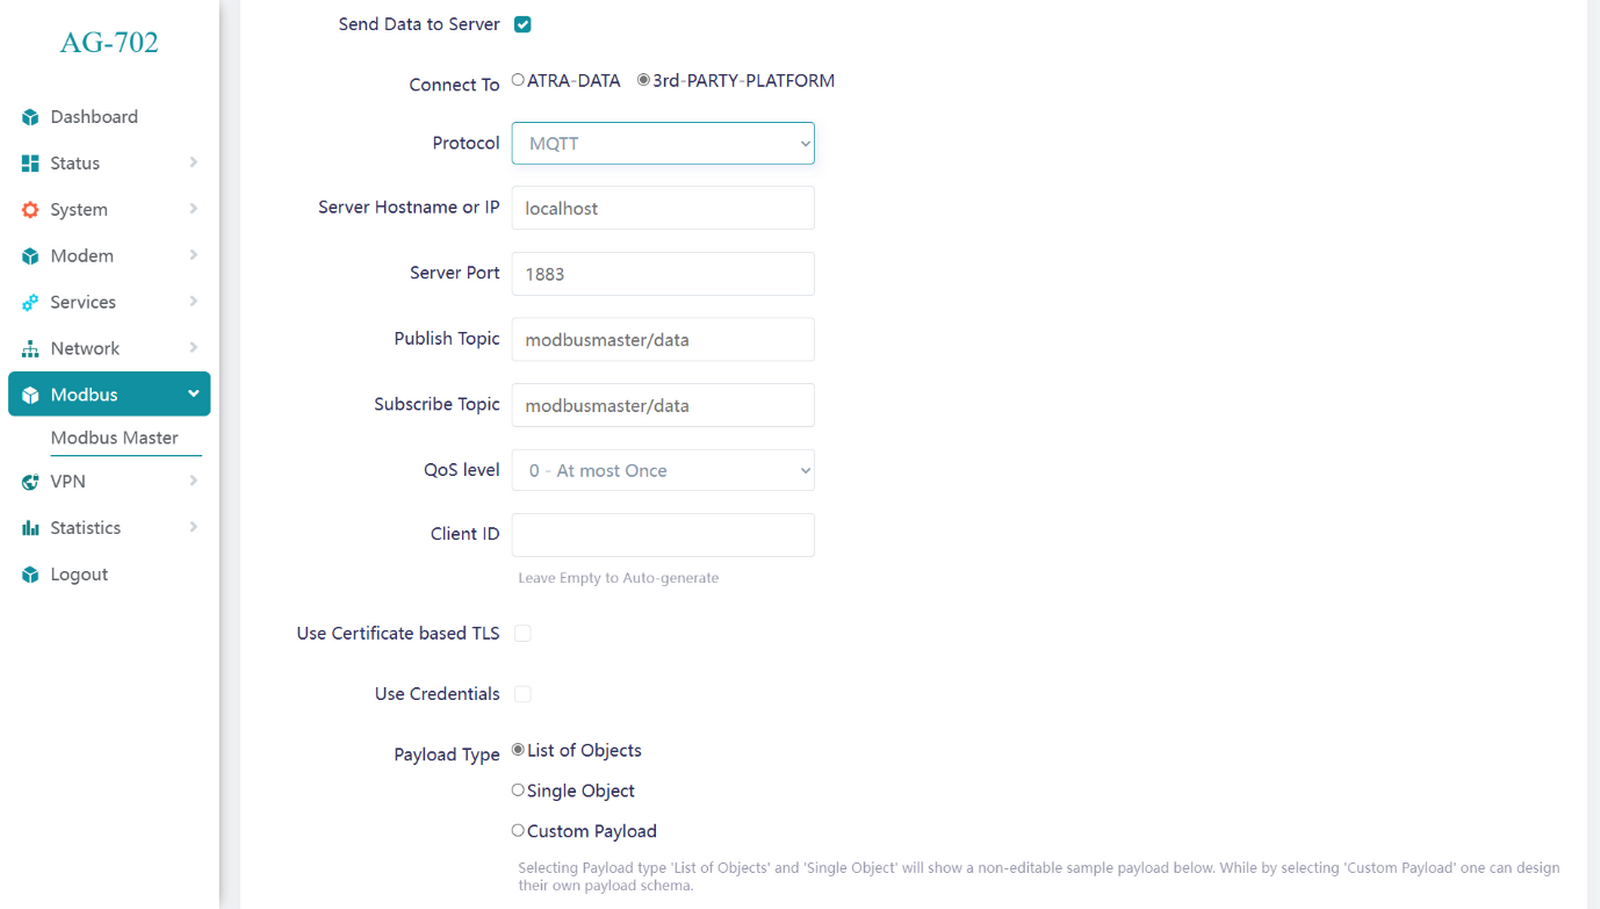
QoS (Quality of Service) level
- QoS 0 (At most once): Fast, no acknowledgment, possible message loss.
- QoS 1 (At least once): Acknowledged, possible duplicates.
- QoS 2 (Exactly once): Highest reliability, no duplicates, uses a four-step handshake.