User Invite Guide
Invite new users to join your Atra RMS organization through a secure email invitation process.
Step 1: Navigate to theInvite UsersForm
Click the"Users" +INVITE button(topin left sidebar menu
Click "+INVITE" button (Teal, top-left corner).
"Invite New User" page.page loads
Step 2: Complete Invitation Form

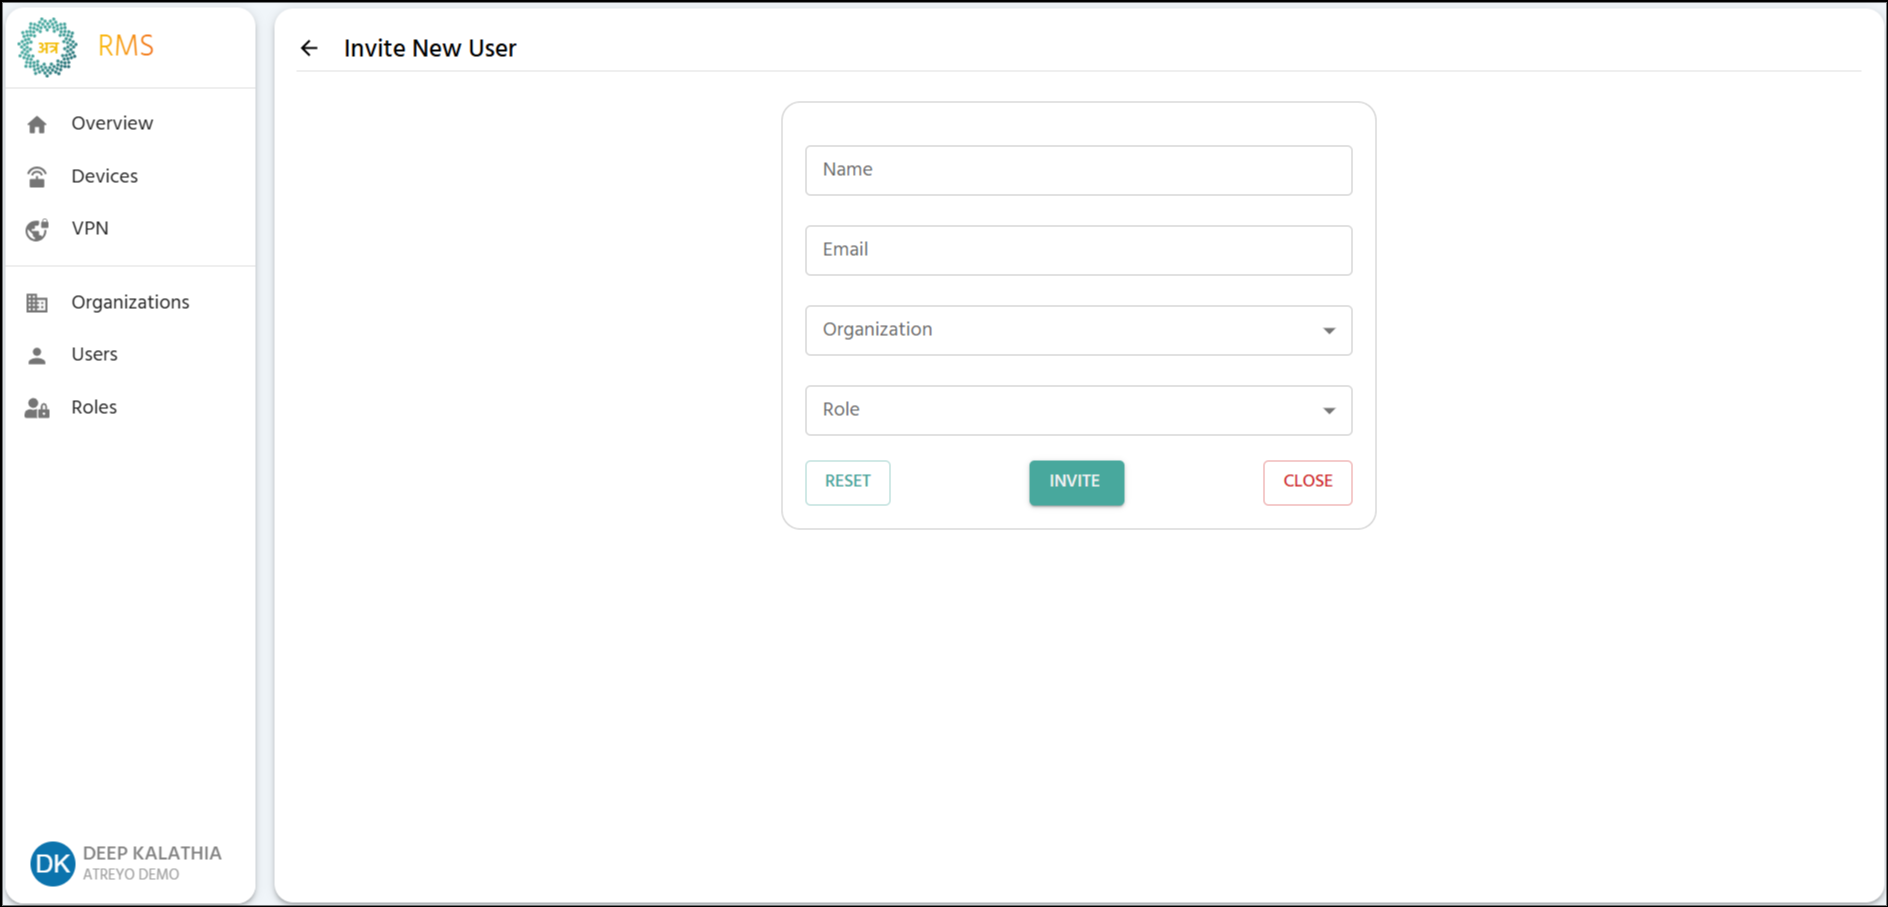
Fill out all required fields:
Input1. FieldsName (Required)
User's
full name (can be edited later).NameInput Rules:
-
Requirement:Length:Enter3-40the new user’sfull name.characters -
Allowed: Letters, numbers, spaces, periods (.), underscores (_), hyphens (-)
Not allowed at start/end: Period, underscore, hyphen
No consecutive special characters
Examples:
✅ Jane Doe
✅ Rajesh Kumar
✅ Product-Manager
✅ User_123
2. Email (Required)
User's email address (used for login and communication).
Input Rules:
-
Must be
3(minimum)validtoemail40(maximum) characterslong.format -
CanMust includeletters,@numbers, spaces, periods (.), underscores (_),symbol andhyphensdomain
Case-insensitive
Examples:
✅ user@company.com
✅ jane.doe@organization.co.in
✅ admin@example.org
❌ usercompany.com (-)missing @)
❌ user@ (incomplete domain)
⚠️ Email Uniqueness:.
Email must be unique across entire Atra RMS platform
Cannot startinvite or enduser with aemail period,already underscore,in or hyphen.system
CannotIf containemail consecutiveexists, periods,system underscores,shows orerror: hyphens"Email (e.g.,already user..name).registered"
3. Organization (Required)
Select the organization this user will belong to.

[INSERT SCREENSHOT: Organization_Dropdown_Invite.png]
ExamplesDropdown of Allowed Names: Jane Doe, Product-Manager, User_123
EmailOptions:
-
Requirement:YourEntercurrentthe user’semail address.organization -
InputAllRules:childMustorganizationsbeunderayourvalid email format(e.g.,user@company.com).management
Organization Impact:
-
Requirement:Select the user’User's access scope limited to assigned organizationfrom
User list.inherits organizational hierarchy visibility based on role
User can only manage resources within their organization
4. Role (Required)
Select the role that defines user's permissions.
Important: Role
dropdown only activates after organization is selected.
Why?
-
Requirement:RolesSelectarethe user’srole.organization-specific -
Note:DifferentRoleorganizationsoptionsmaywillhavebecomedifferent availableonlyrolesafter
System hasmust beenknow selected.
organization to display correct role options
ActionAvailable Buttons:Roles:
-
RESET:AllClearsrolesallcreatedfields infor theform.selected organization -
Examples: ADMIN, MANAGER, VIEWER
Step 3: Submit Invitation
Step 4: Invitation Email Sent
After clicking INVITE:
System generates secure invitation email to the provided address, allowing the user to set up their account.token
CLOSE:Email Closessent theto formprovided andaddress navigatescontaining:
Invitation message
"Set Up Password" button/link
User appears in Users List with "Invited" Yellow clock icon (⏳)
You are redirected back to the UserUsers List without sending the invitation or saving any details.
Email Delivery Time: Usually instant, but may take up to 5 minutes.
⚠️ If User Doesn't Receive Email:
Check spam/junk folder
Verify email address was entered correctly
Wait 10 minutes, then resend the invitation. To do this, delete the user and re-invite them via the "Invite User" form. Only perform this process if the user needs an account but the email address was entered incorrectly, or if they haven’t received the email within 10 minutes.