Installation
System Requirements
Supported Operating Systems:
-
Windows 10 (64-bit) - Build 1809 or later
-
Windows 11 (64-bit)
Hardware Requirements:
-
Processor: Dual-core 2.0 GHz or faster
-
RAM: 4 GB minimum
-
Disk Space: 200 MB
-
Administrator privileges for installation
⚠️ Important: App is currently in BETA. Minor bugs may be encountered. Report issues to support.
Download Process
Step 1: Access Download
-
Log in to Atra RMS (web interface)
-
Navigate to VPN section
-
Locate Download button (top-left corner)
-
Click Download button
Step 2: Locate Installer
-
Installer downloads to your default Downloads folder
-
Filename: AtraVPNClientSetup.exe
-
Locate file in Downloads folder
Step 3: Run Installer
-
Double-click AtraVPNClientSetup.exe
-
Windows SmartScreen warning may appear.
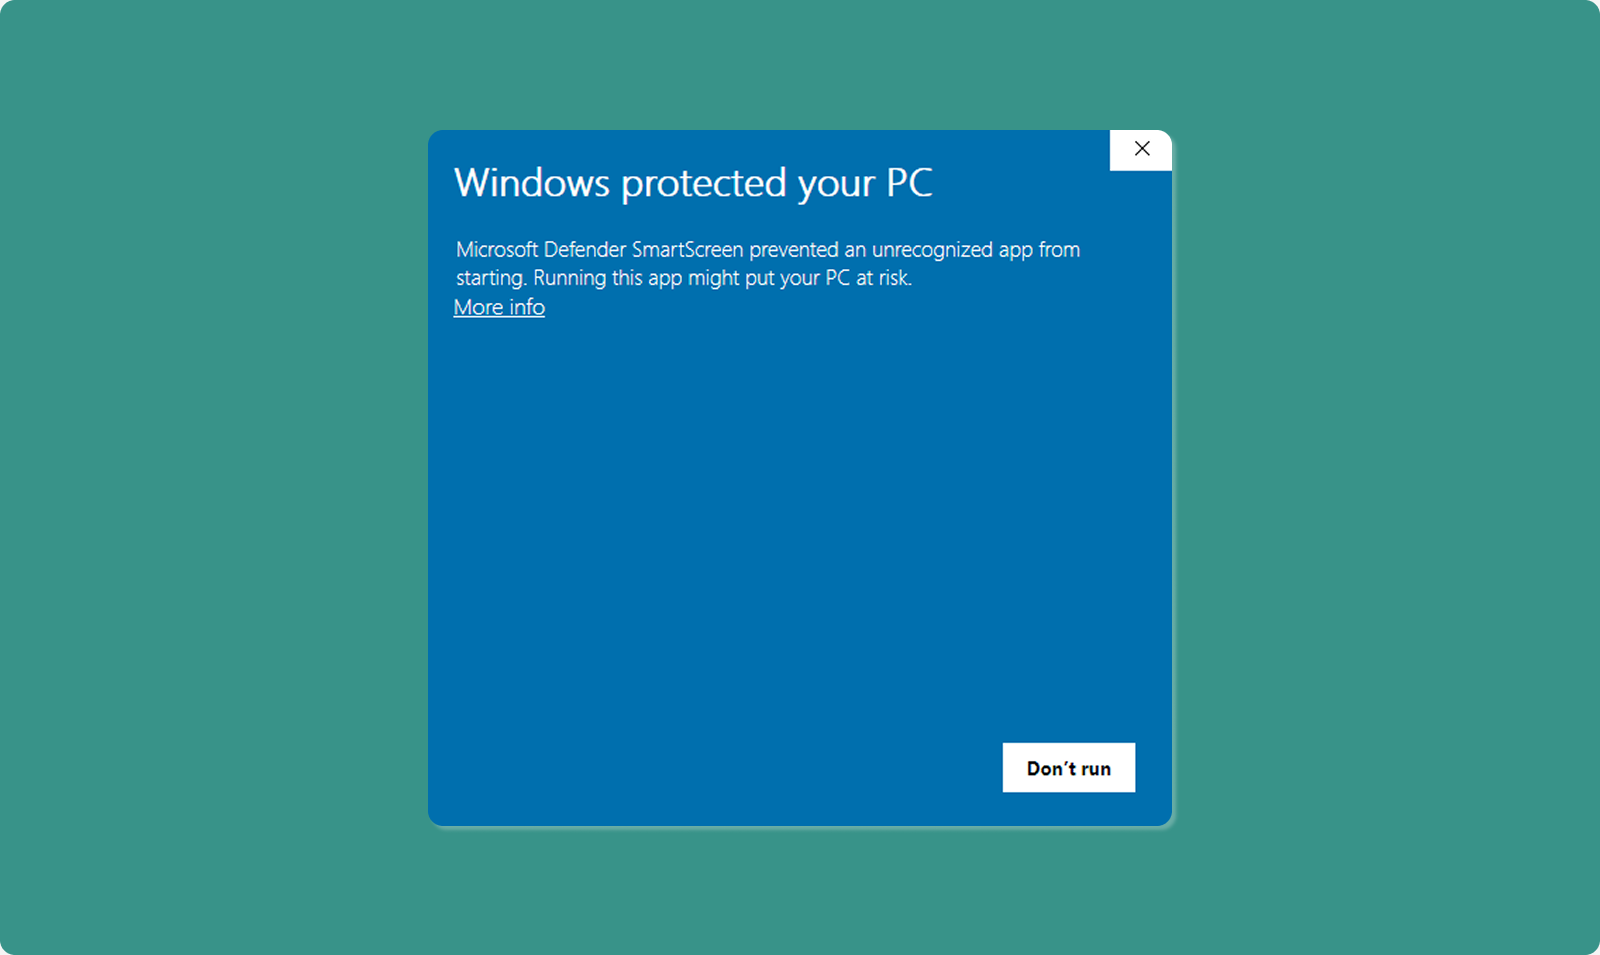
Windows SmartScreen Warning
Why This Appears:
-
Standard Windows security check
-
Appears for BETA apps not yet widely distributed
-
Does NOT indicate malicious software
-
Atra VPN Client is developed and signed by Atreyo,you can safely proceed.
How to Proceed Safely:
-
SmartScreen window appears: "Windows protected your PC"
-
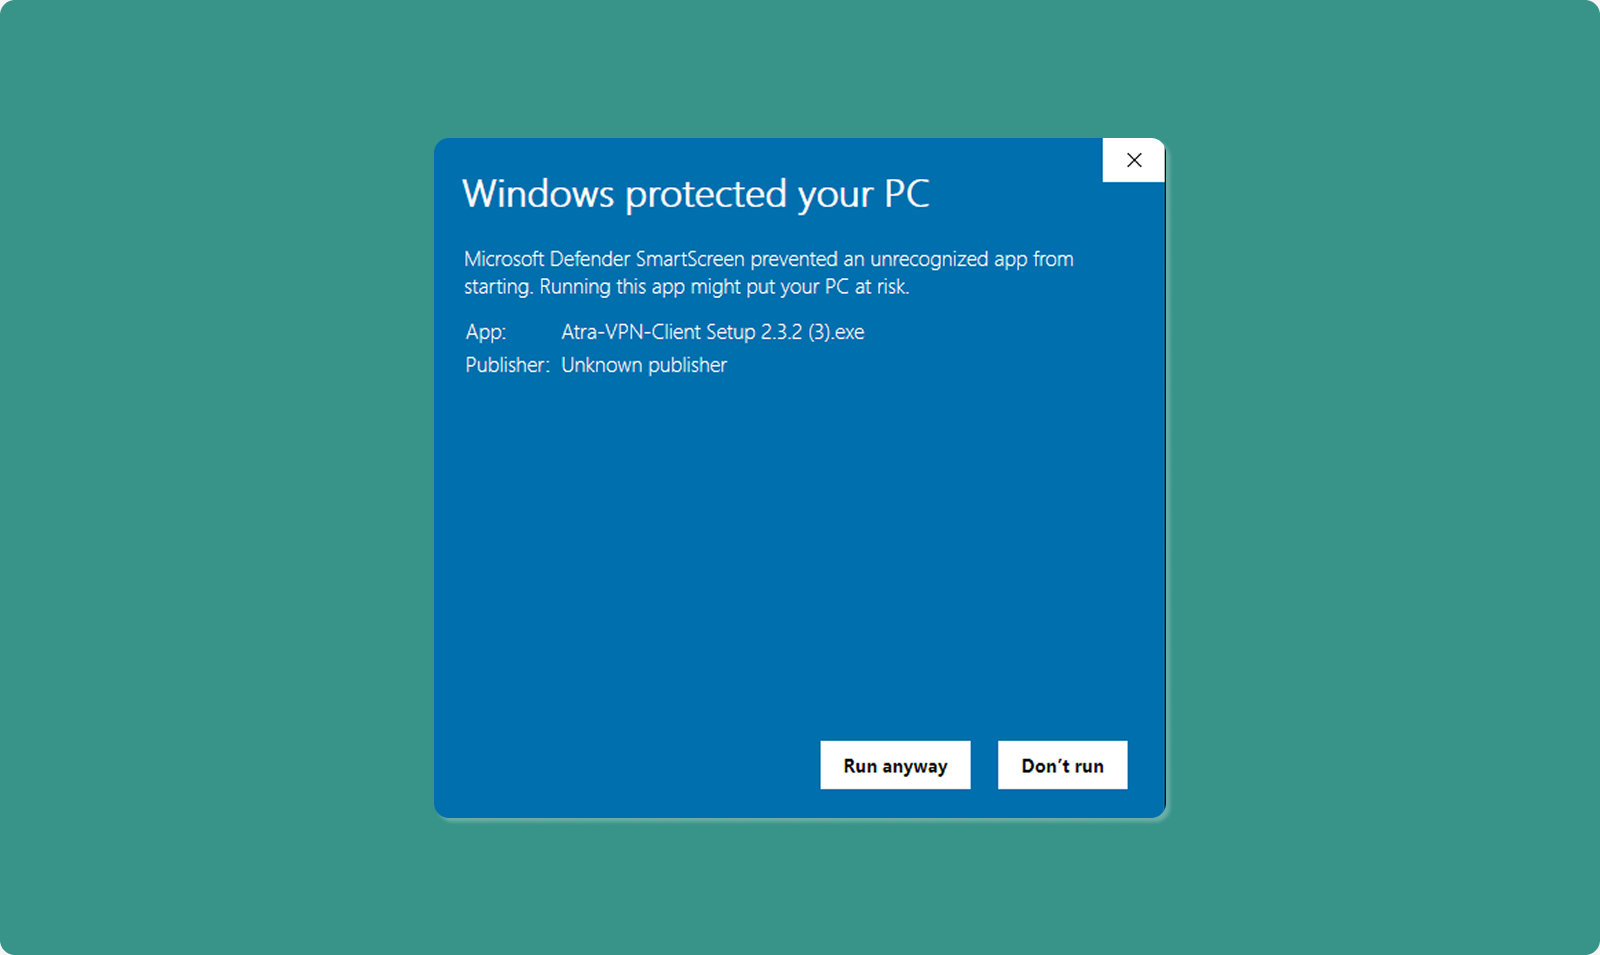
Click "More info" link
-
"Run anyway" button appears
-
Click "Run anyway"
-
Installation proceeds
Step 4: Administrator Permission
Windows User Account Control (UAC) prompt appears.
-
Message: "Do you want to allow this app to make changes?"
-
Click "Yes" to grant administrator privileges
-
Installation wizard opens
Why Administrator Rights Needed:
-
Install OpenVPN drivers
-
Create system network interfaces
-
Modify network routing tables
-
Write to Program Files directory
Step 5: Installation Wizard
Follow on-screen installation steps:
-
Welcome Screen: Click "Next"
-
License Agreement: Read and click "I Agree"
-
Installation Location: Use default or choose custom (click "Next")
-
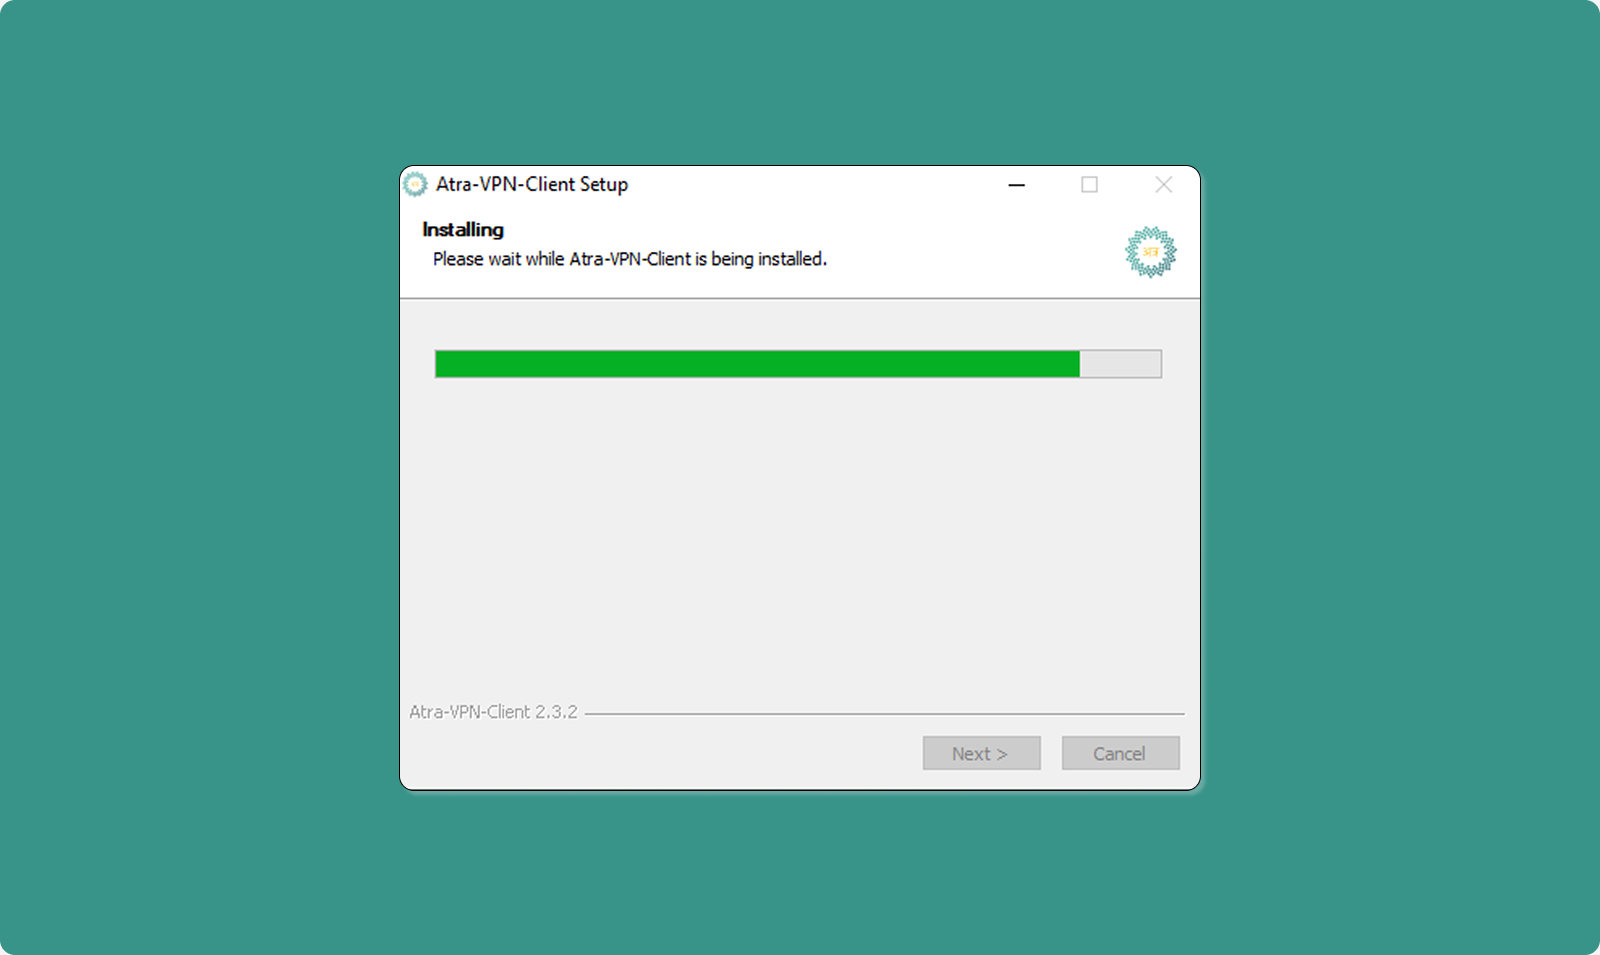
Install: Click "Install" button
-
Progress Bar: Wait for installation (typically 1-2 minutes)
-
Completion: Click "Finish"
Step 6: Launch Application
After installation completes:
-
Atra VPN Client automatically launches
-
Login page displays
-
Ready for authentication
Desktop Shortcut: Installer creates desktop icon for future launches.