VPN Tunnel Creation Guide
Create a new VPN tunnel to enable secure remote access for users and devices.
Prerequisites
Before creating VPN tunnel:
✅ You have "VPN Create" permission
✅ You have "Devices View" permission (required dependency)
✅ You understand which devices/users need VPN access
✅ You know the network topology (especially for network forwarding decisions)
Step 1: Navigate to Creation Form
-
Click "VPN" in left sidebar menu
-
Click "+CREATE" button (teal, top-left)
-
VPN Tunnel creation form loads
Step 2: Complete Tunnel Form
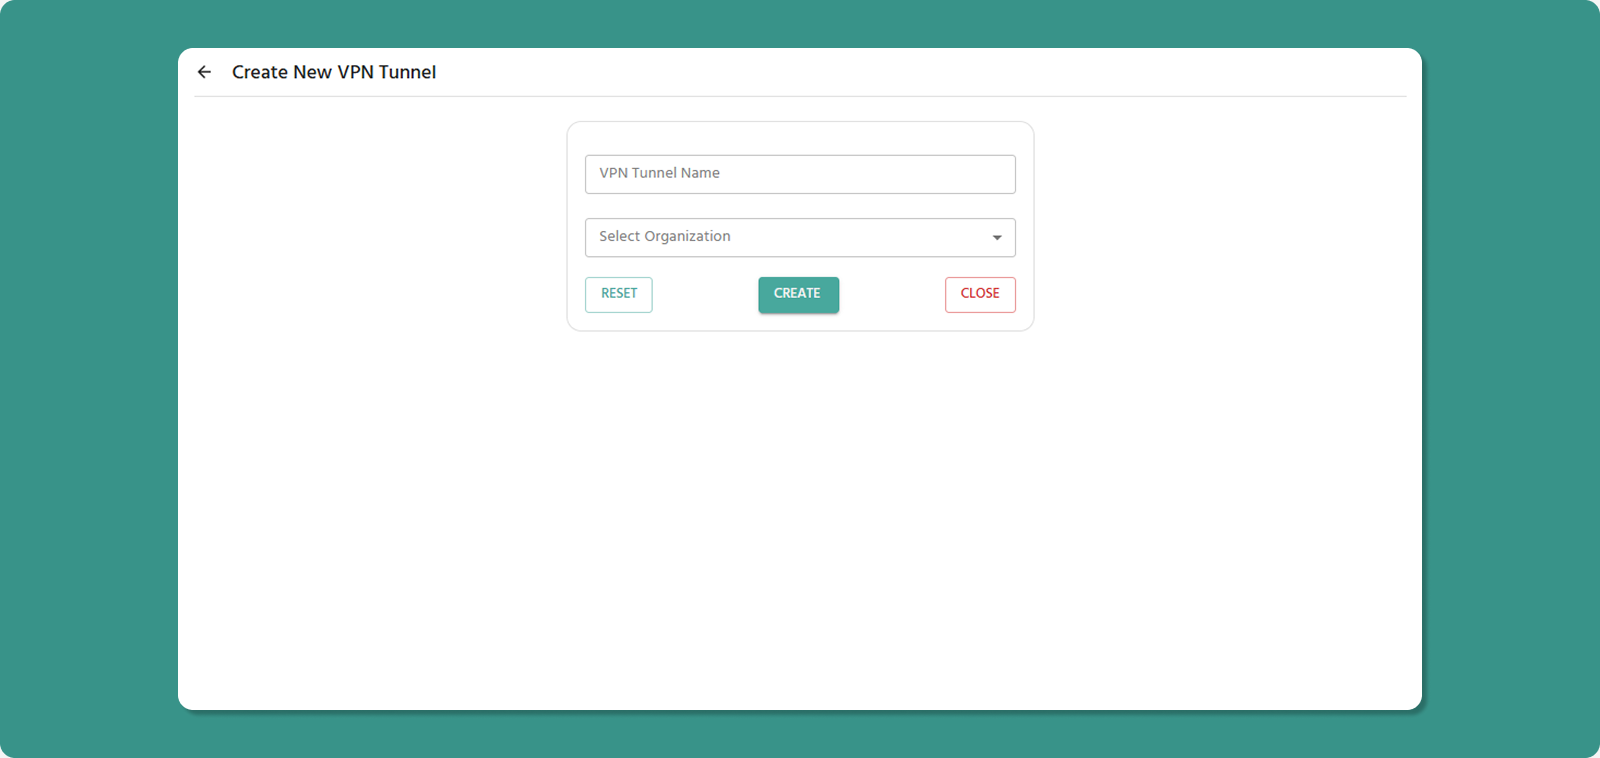
Tunnel Name (Required)
Naming Conventions:
-
Length: 3-50 characters
-
Allowed: Letters, numbers, spaces, hyphens (-), underscores (_)
-
Not allowed at start/end: Hyphen, underscore
-
No consecutive special characters
Examples:
-
✅ Production Tunnel 01
-
✅ Office_VPN
-
✅ Remote-Access-Main
-
❌ _Tunnel (starts with underscore)
-
❌ VPN--Tunnel (consecutive hyphens)
💡 Naming Best Practices:
-
Indicate purpose: "Production", "Development", "Support"
-
Include location if relevant: "Mumbai_Office_VPN"
-
Use consistent naming: "Site_Function_Number"
Organization (Required)
Select the organization where the tunnel will be created.
Dropdown Options:
-
Your current organization
-
Child organizations under your management
Important:
-
Only devices/users from selected organization (and its children) can be added
-
Cannot add devices/users from parent organizations
Step 3: Review and Create
Before submitting, review:
✅ Tunnel name is descriptive
✅ Correct organization selected
Form Actions:
After Creation
Immediate Effects:
-
New tunnel appears in VPN Tunnel List
-
Tunnel Status: Disabled
-
Process State: Exited (not running yet)
Next Steps:
-
Start the VPN Process (see Tunnel Overview page)
- Add devices and users to tunnel
-
Users download VPN client (if not already installed)
-
Users connect via VPN Desktop Application